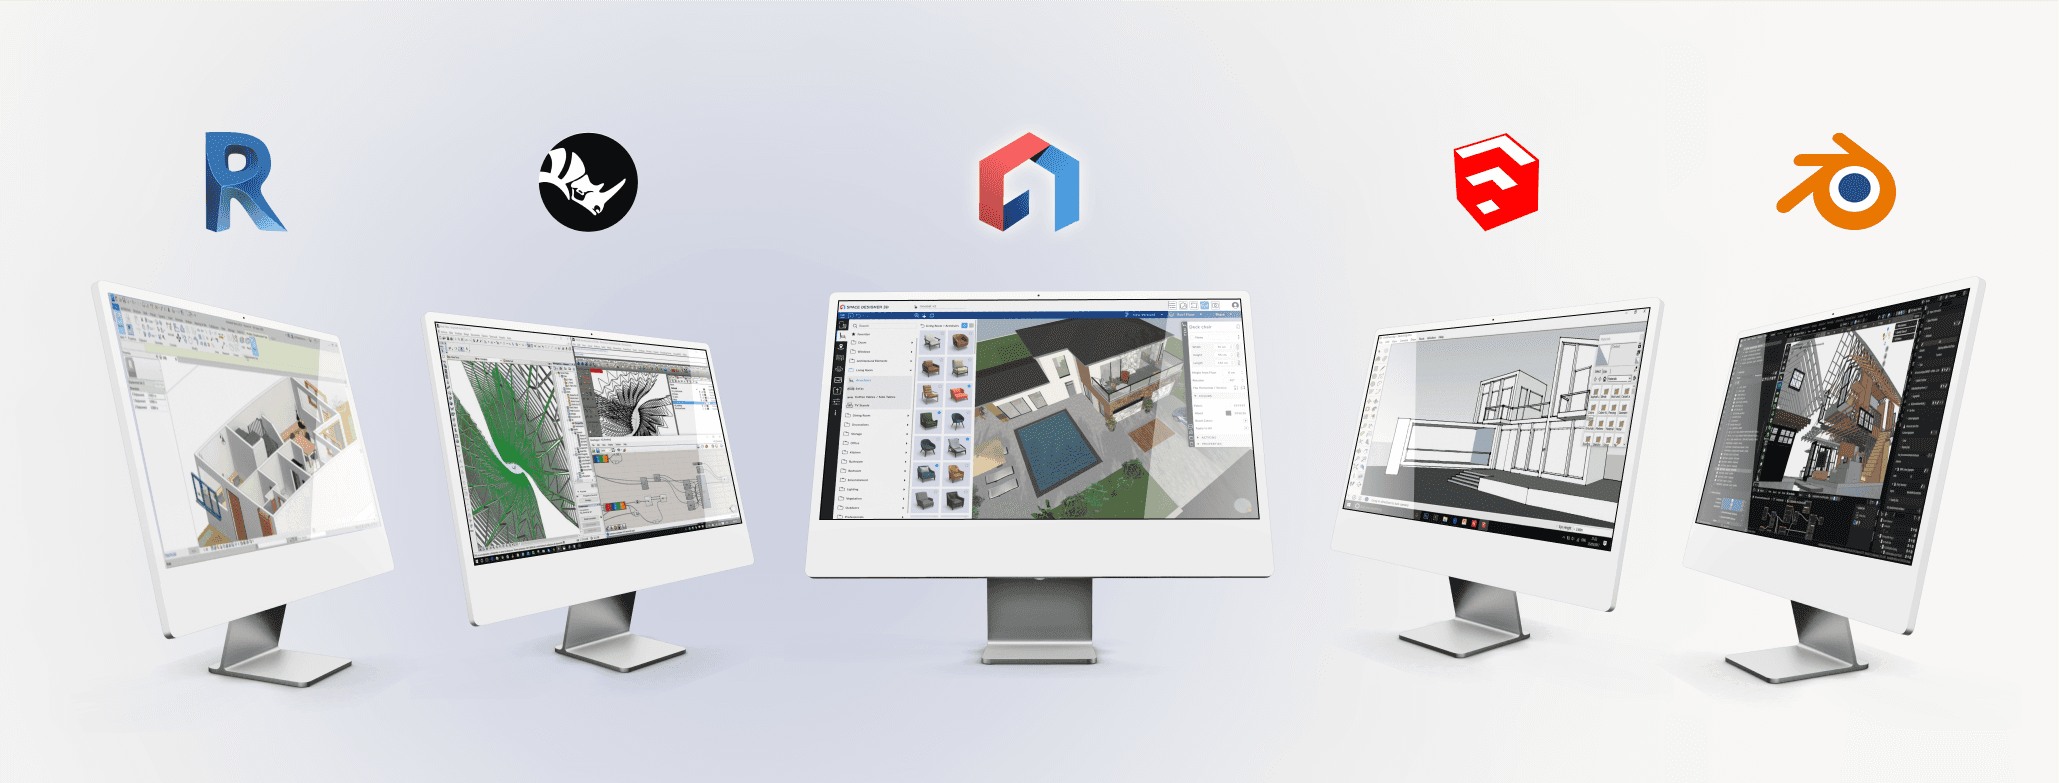
You likely already have a clear idea of the home you want to create. After all, no one knows your family's needs better than you. While an architect might step in later, right now you want to take the first steps, visualizing your ideas in a tangible way.
But the big question is: which software should you use to transform these ideas into something real? A quick search shows dozens of options, all of which look alike at first glance. But how do you find the one that’s best suited for you?
With over 15 years of experience as an architect and co-founder of Space Designer 3D, I’ve helped many people transform their ideas into concrete plans. In this guide, I’ll walk you through some of the best software options so you can choose the right tool for your needs.
And yes, if you want to try Space Designer 3D, you can do that for free. But before jumping in, I encourage you to read through this article.
Before Drawing Anything, Write...
Write down your desires and constraints on paper. This will guide you throughout the design process, helping you gain clarity, efficiency, and satisfaction.
Example of Goals and Constraints:
Natural Light: Prioritize rooms that get abundant sunlight.
Soundproofing: A music room for your teenager, isolated from the rest of the house.
Work-from-Home Setup: A separate office space to maintain a boundary between work and home life.
Budget Limitations: Opt for multifunctional and modular spaces.
Eco-Friendly Design: You might also be looking for a sustainable, low-energy home with eco-friendly heating.
Choose the Right Software for Each Phase of Your Home Design
Designing your home goes through several phases, and most architects rely on a combination of tools depending on the stage of the project. Below, I’ve grouped the best software according to the phase where they are most useful.
This isn’t to suggest that you need to learn more software, but sometimes, like architects, you might benefit from using an additional tool to refine a particular phase. So, when choosing your software, make sure it’s compatible with others you may need later.
Phase 1: Conceptual Design / Sketching
This is the creative stage, where you work out the basic layout of your home based on the constraints you’ve identified: location, orientation, climate, family needs, and more. Lines form, spaces take shape, and adjustments are made. At this point, precision isn’t the focus—the goal is to maintain a rough scale, both spatially and budgetarily.
SketchUp
Price: From $349/year + plugins
Difficulty: 3/5
Good for: Beginners and intermediate users looking to model spaces in 3D.
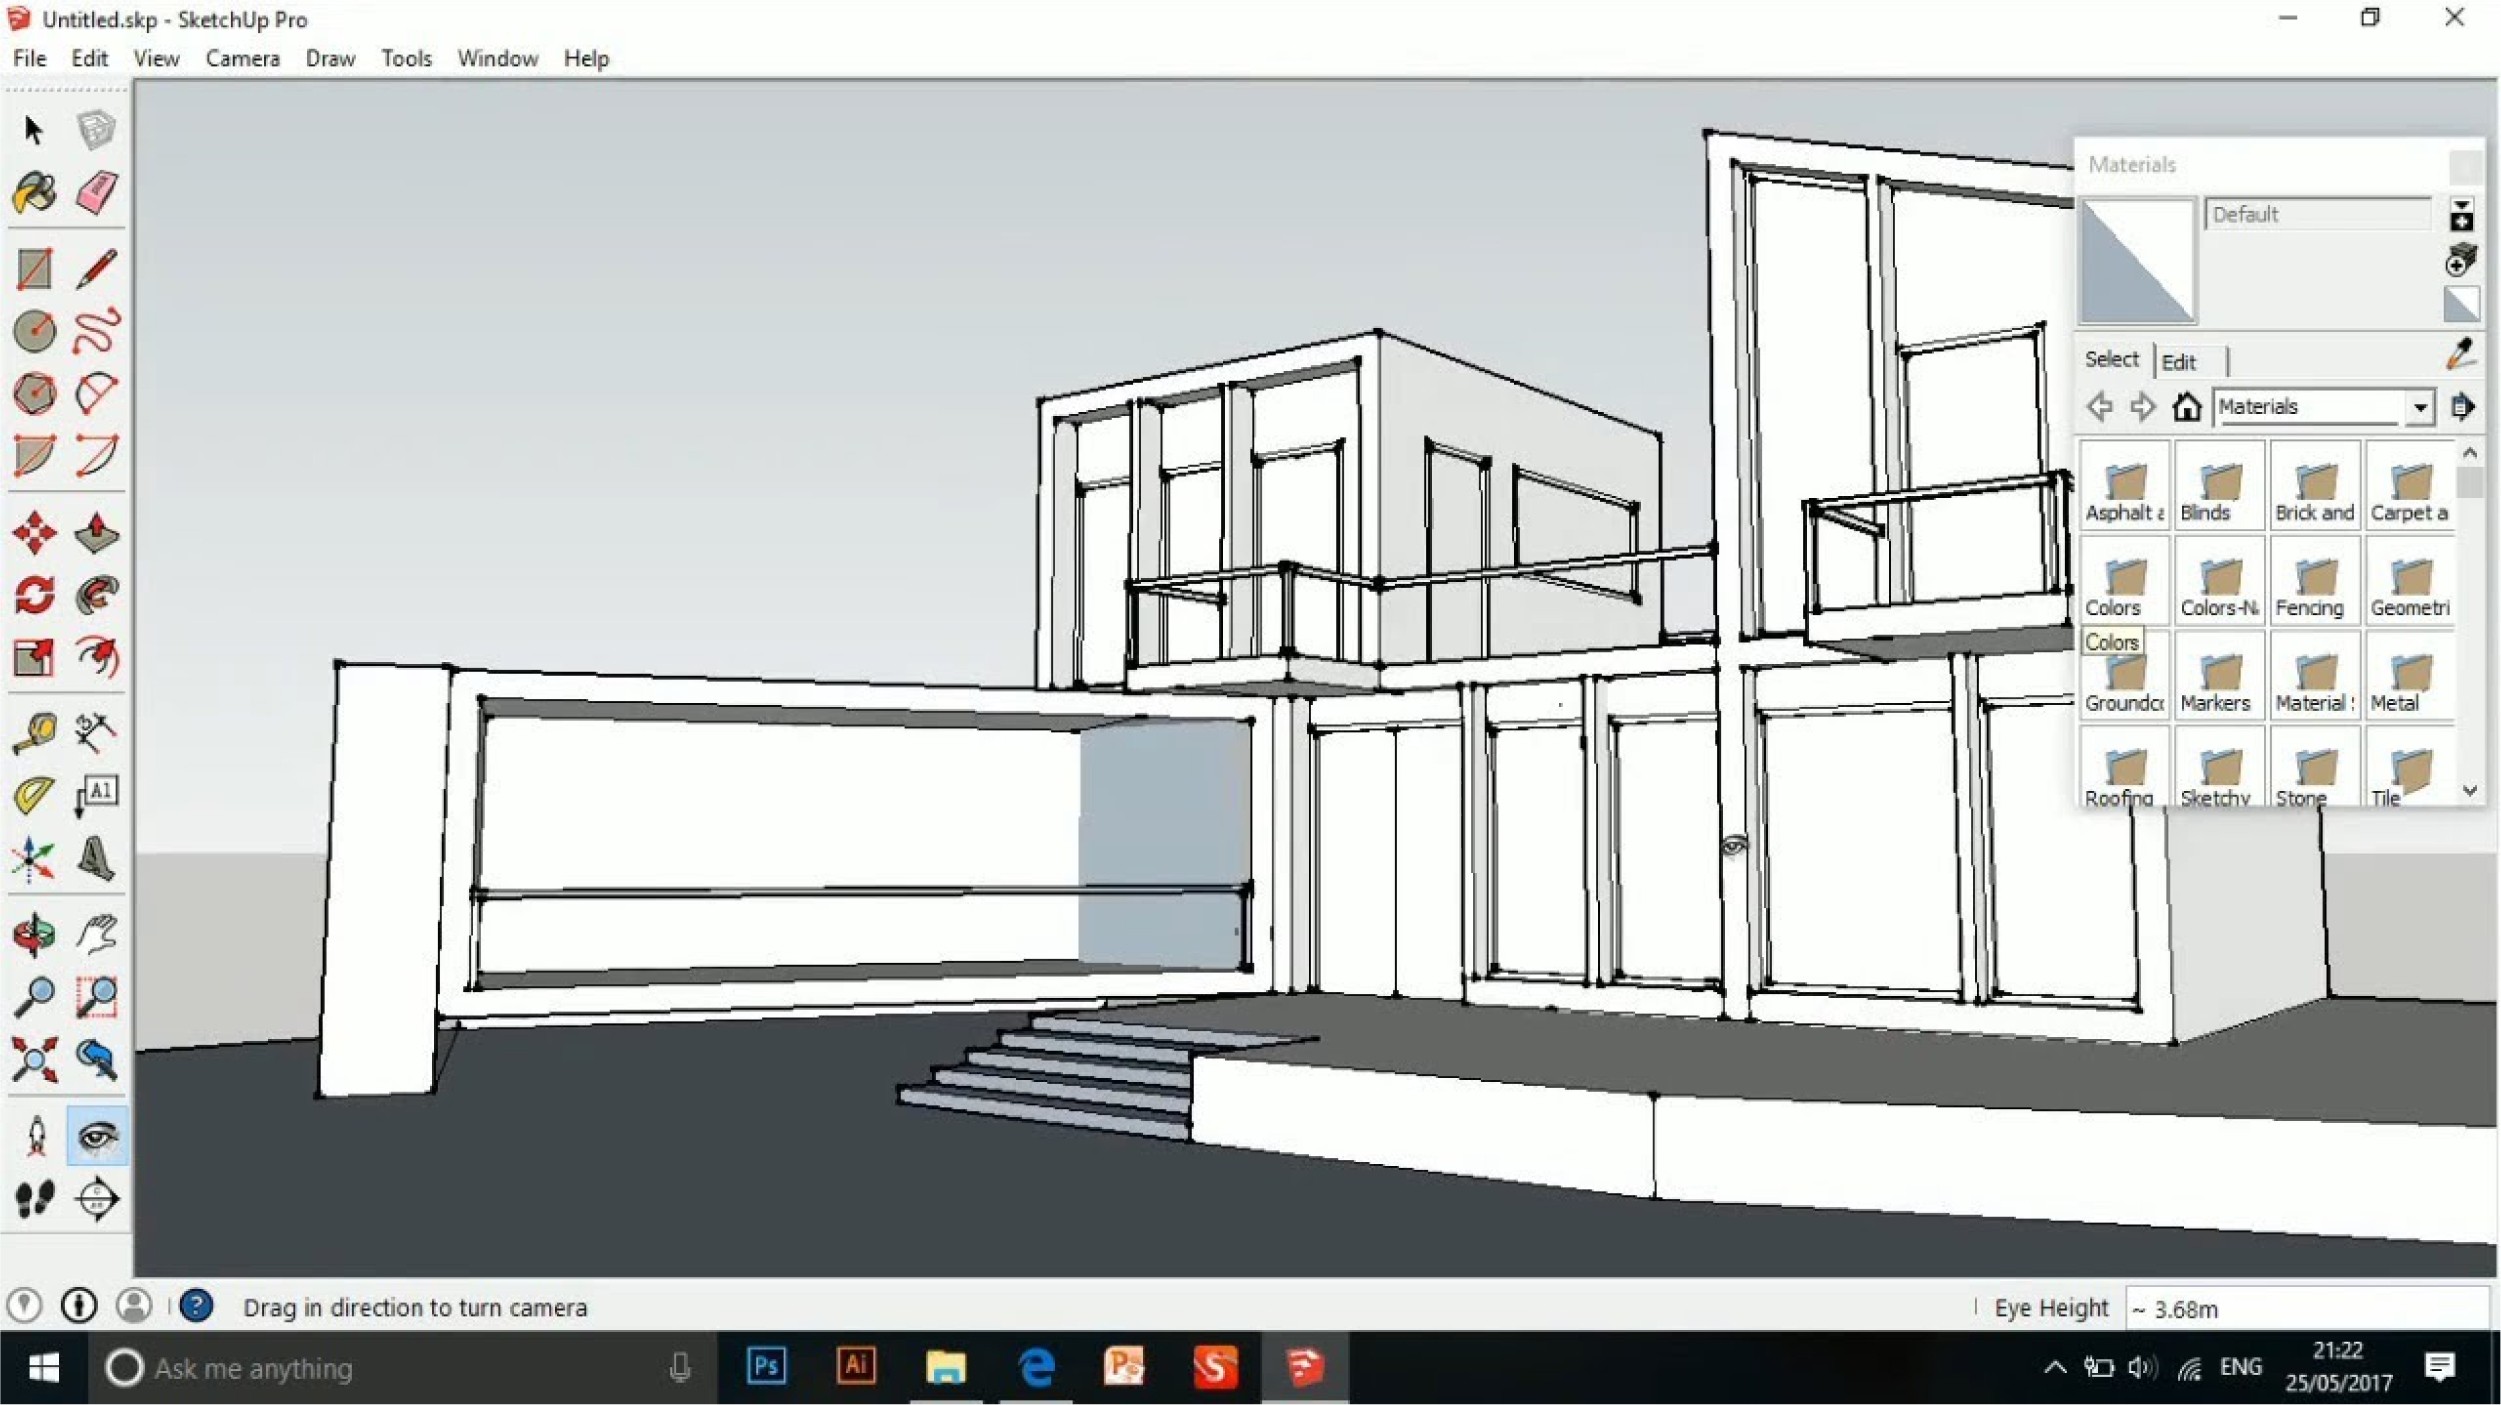
If you’ve spent any time in the world of 3D design, you’ve probably come across SketchUp. It’s not made specifically for architecture, but thanks to a range of plugins, it’s widely adopted for home design.
Useful Plugins:
Flex Tools ($99/year): Create doors, windows, and stairs quickly and accurately.
Instant Architecture ($118/year): Helps generate roofs, walls, fences, and terrains with ease.
SketchUp is a great option if you’ve got the time to spend drawing out your design. But be prepared—it requires dedication. Despite its reputation for being intuitive, beginners often find it more complex than expected. For professional architects, it’s rarely a first choice because it can be slow and disorganized when using many plugins.
Rhino3D
Price: From $995/year
Difficulty: 4/5
Good for: Advanced users seeking precision and flexibility.
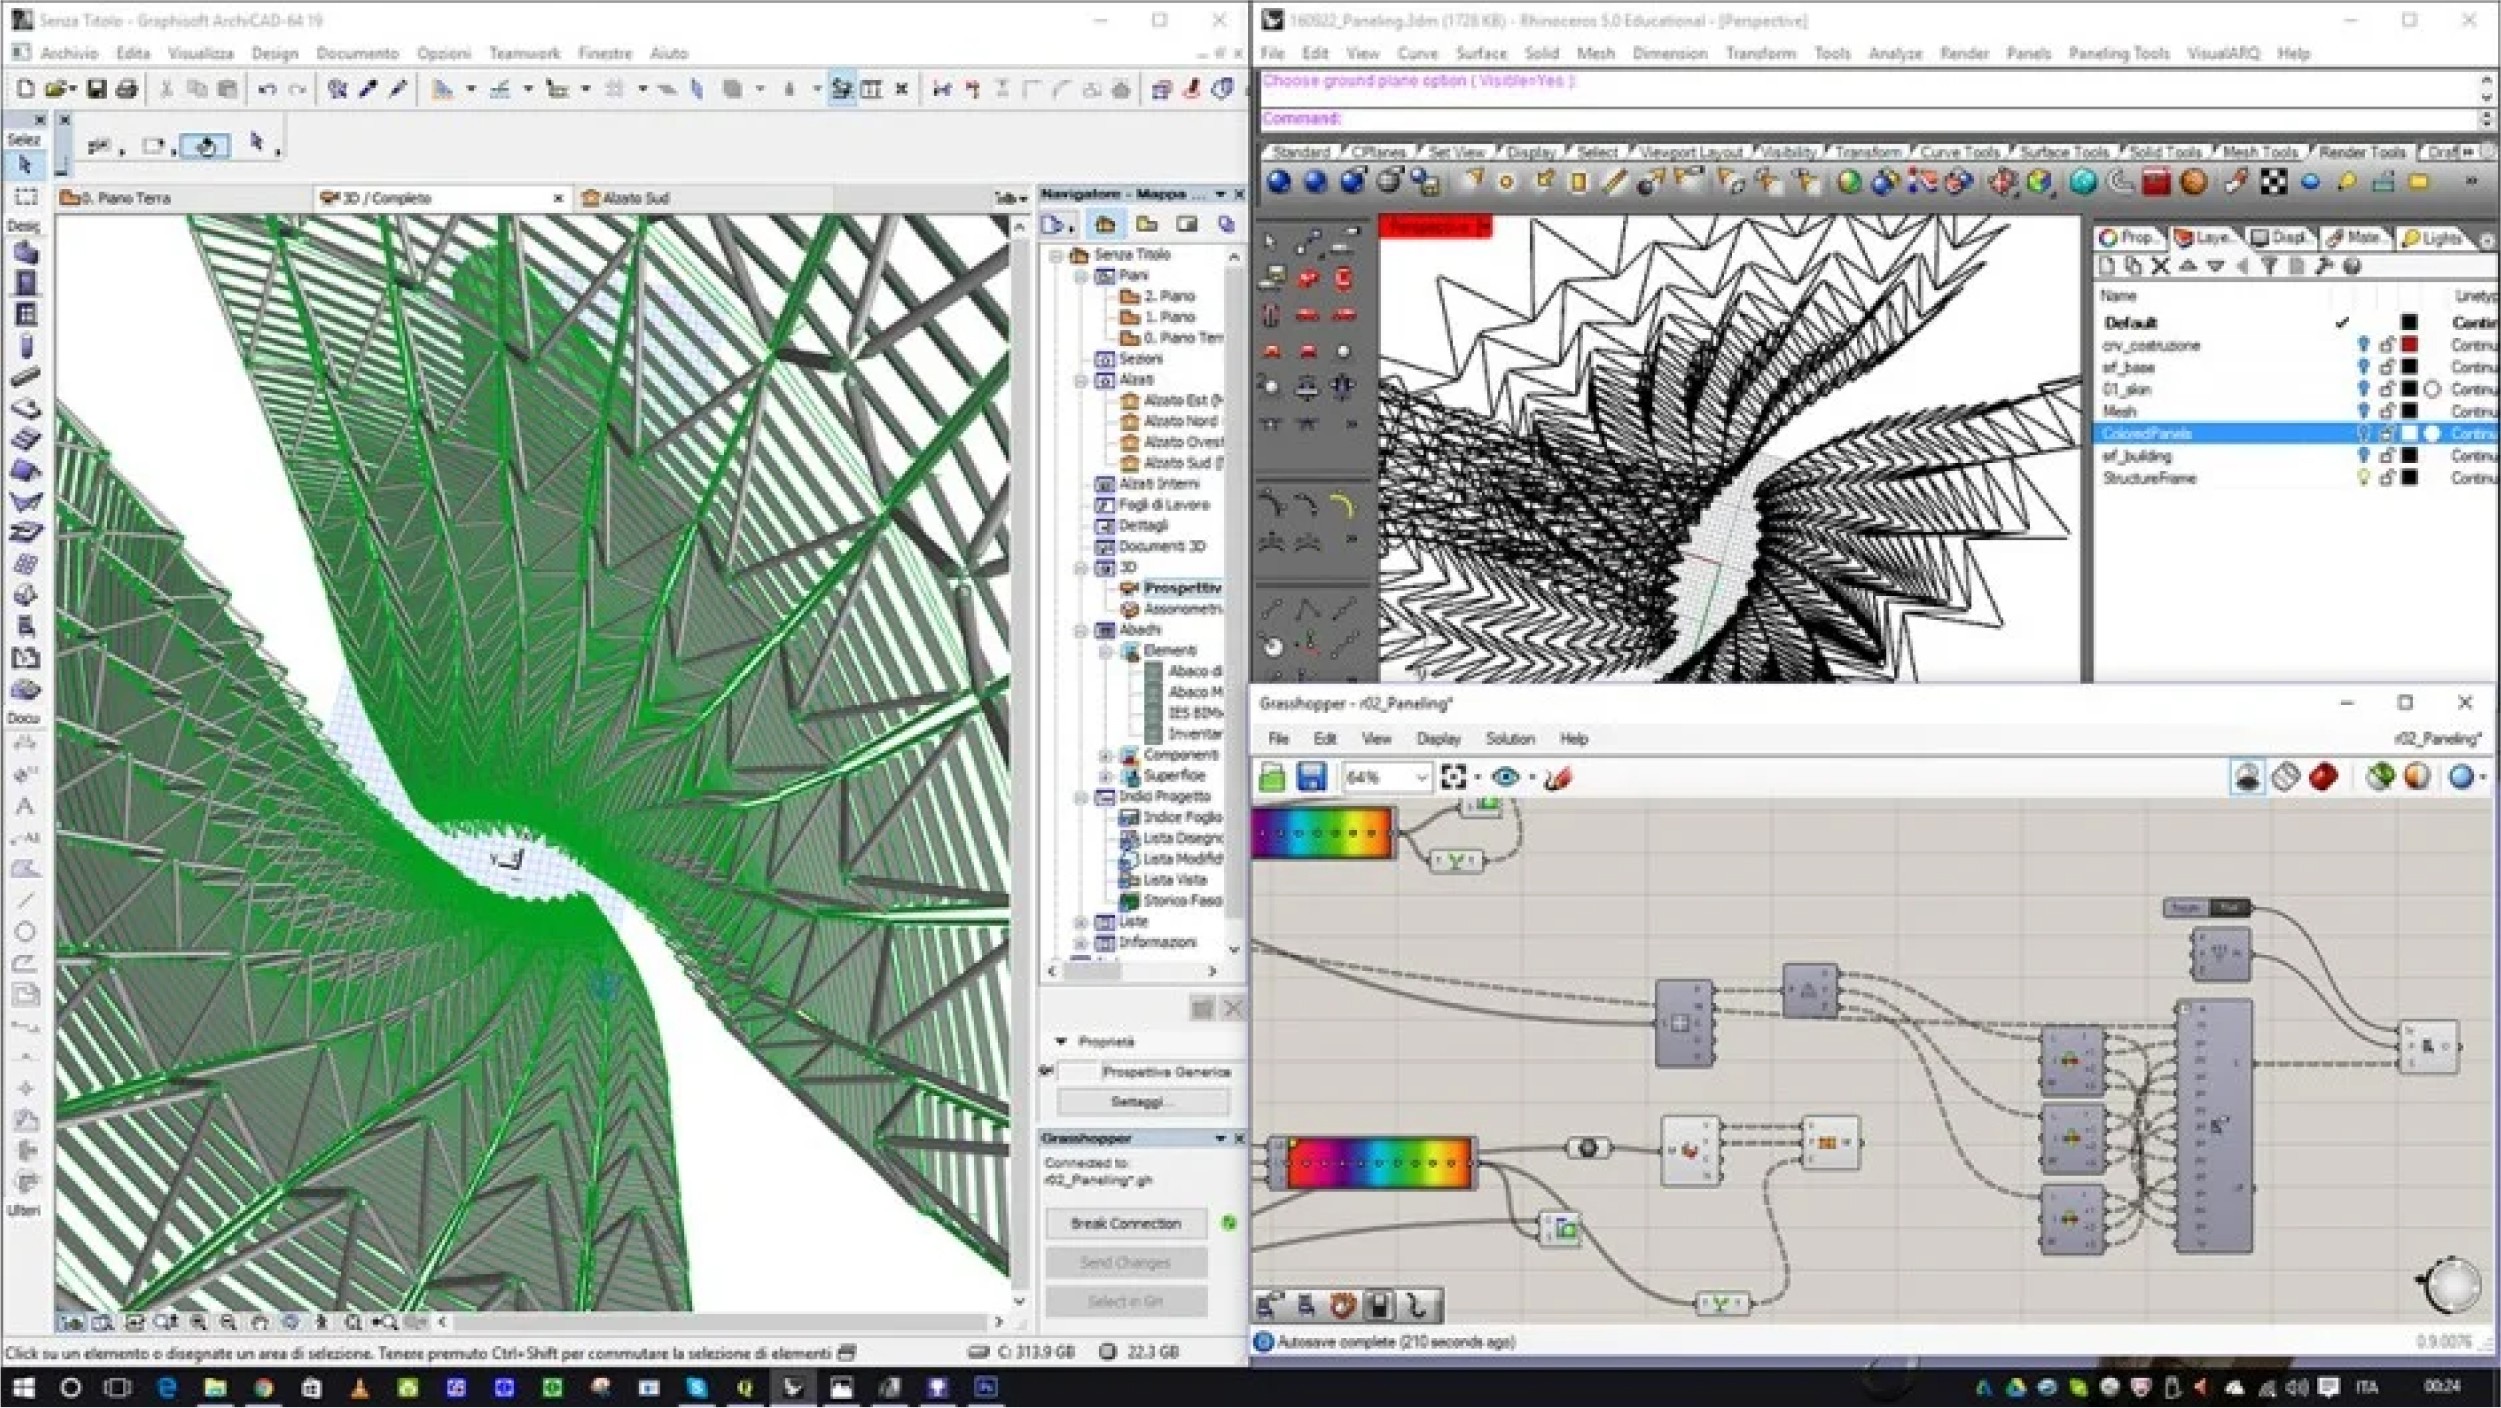
Rhino3D is a highly flexible 3D modeling tool. With its Grasshopper plugin, it’s ideal for parametric design, allowing you to explore complex forms. If you’re willing to invest time, Rhino3D is worth the learning curve.
Blender
Price: Free and open-source
Difficulty: 4/5
Good for: Advanced users looking for a powerful, customizable tool.
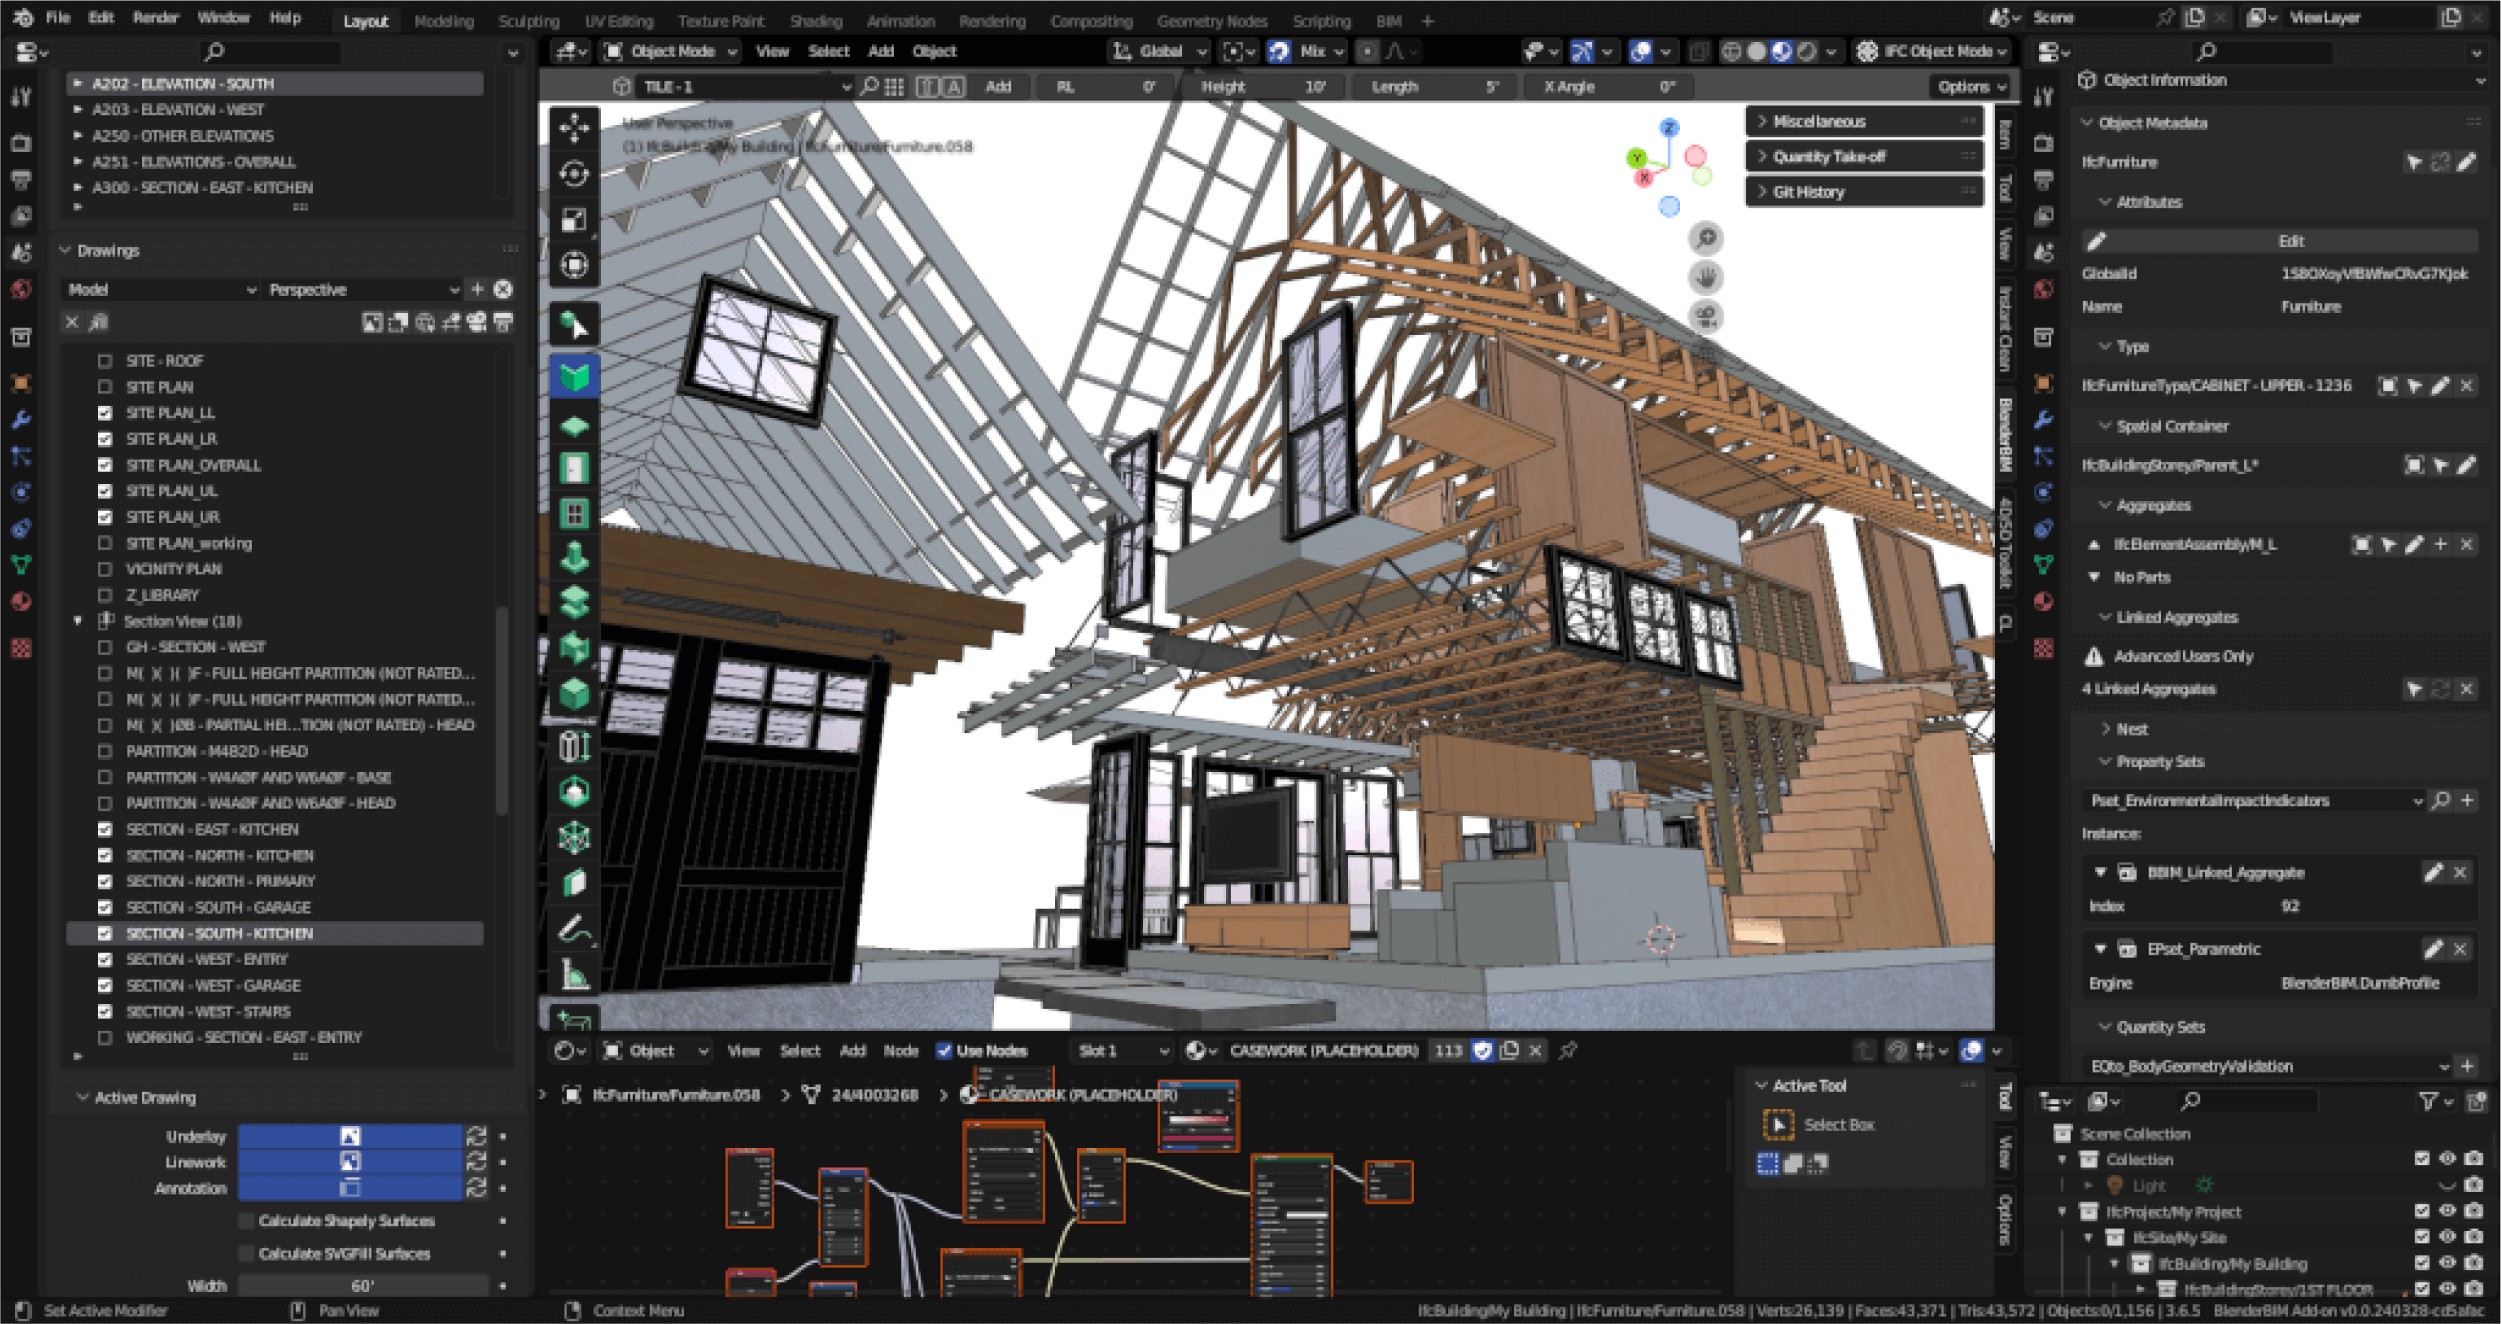
Blender is a powerful tool that’s completely free. Although its interface can be challenging for beginners, its vast range of plugins makes it a solid option for architectural design. Building Tools and BlenderBIM are two notable plugins for architectural projects.
Revit
Price: €684/year
Difficulty: 5/5
Good for: Large-scale projects that require detailed documentation.
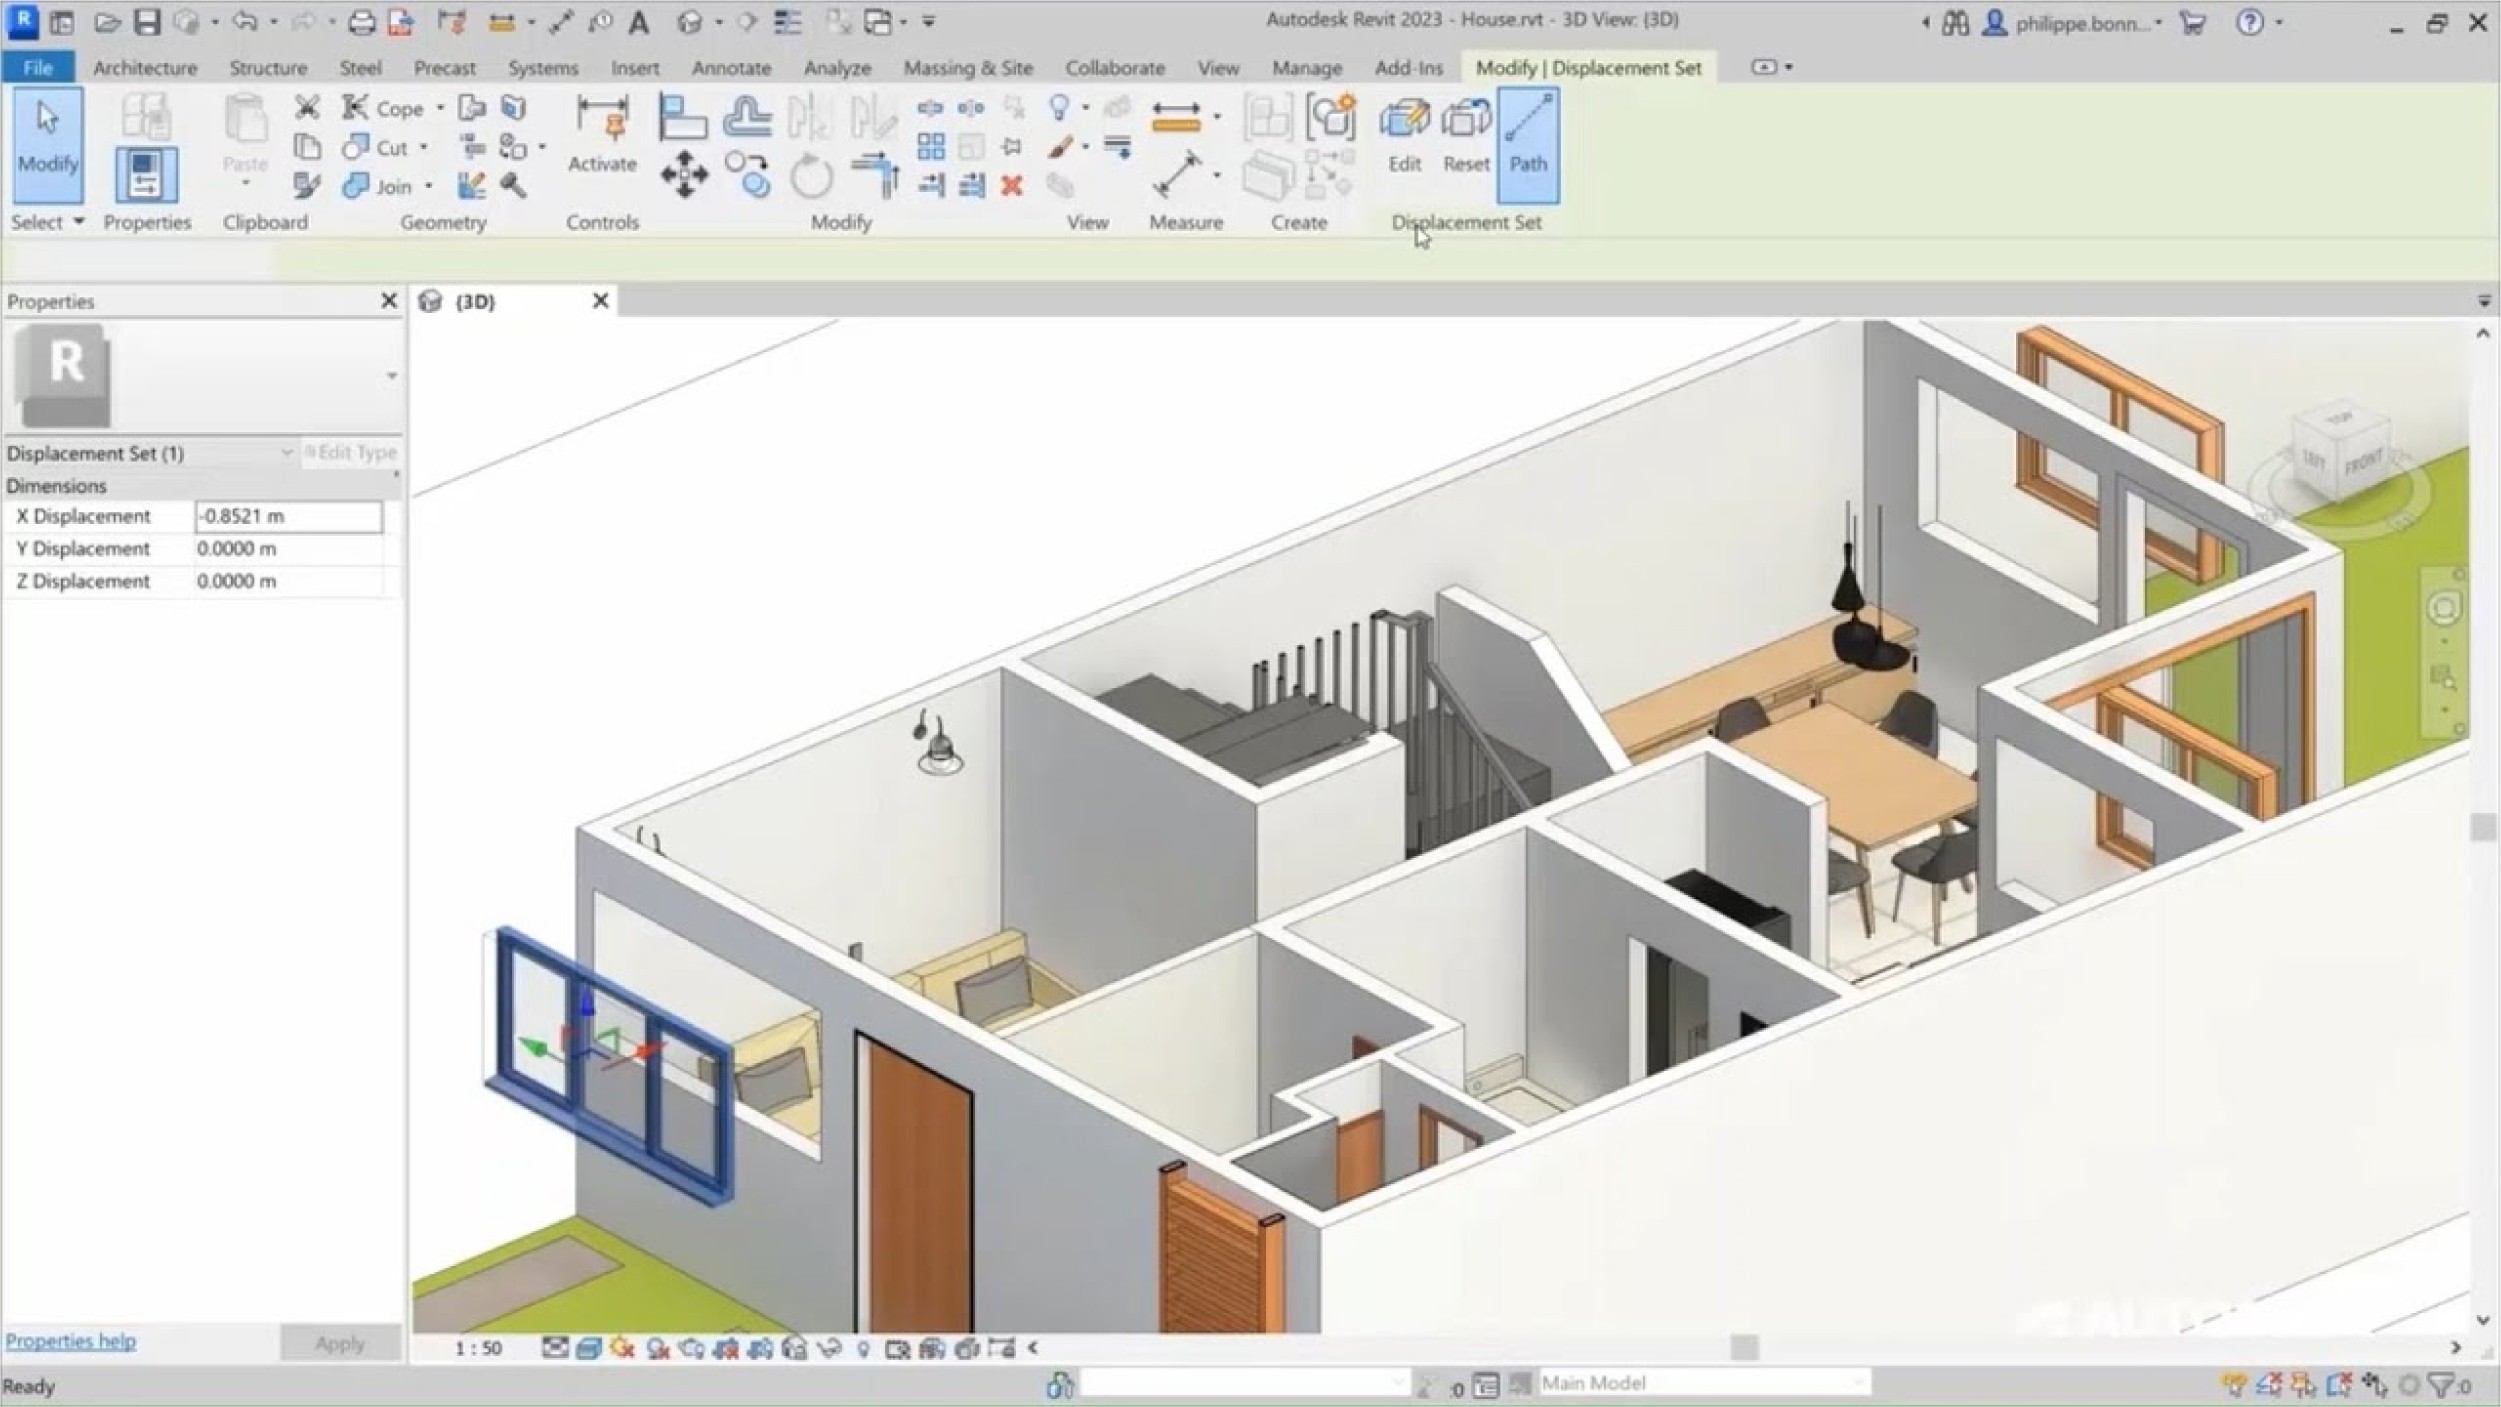
Revit excels at Building Information Modeling (BIM), which means it’s great for managing large construction projects. However, it’s less suitable for the early, creative phase of design when flexibility is key.
AutoCAD
Price: Varies
Difficulty: 3/5
Good for: Detailing and drafting.
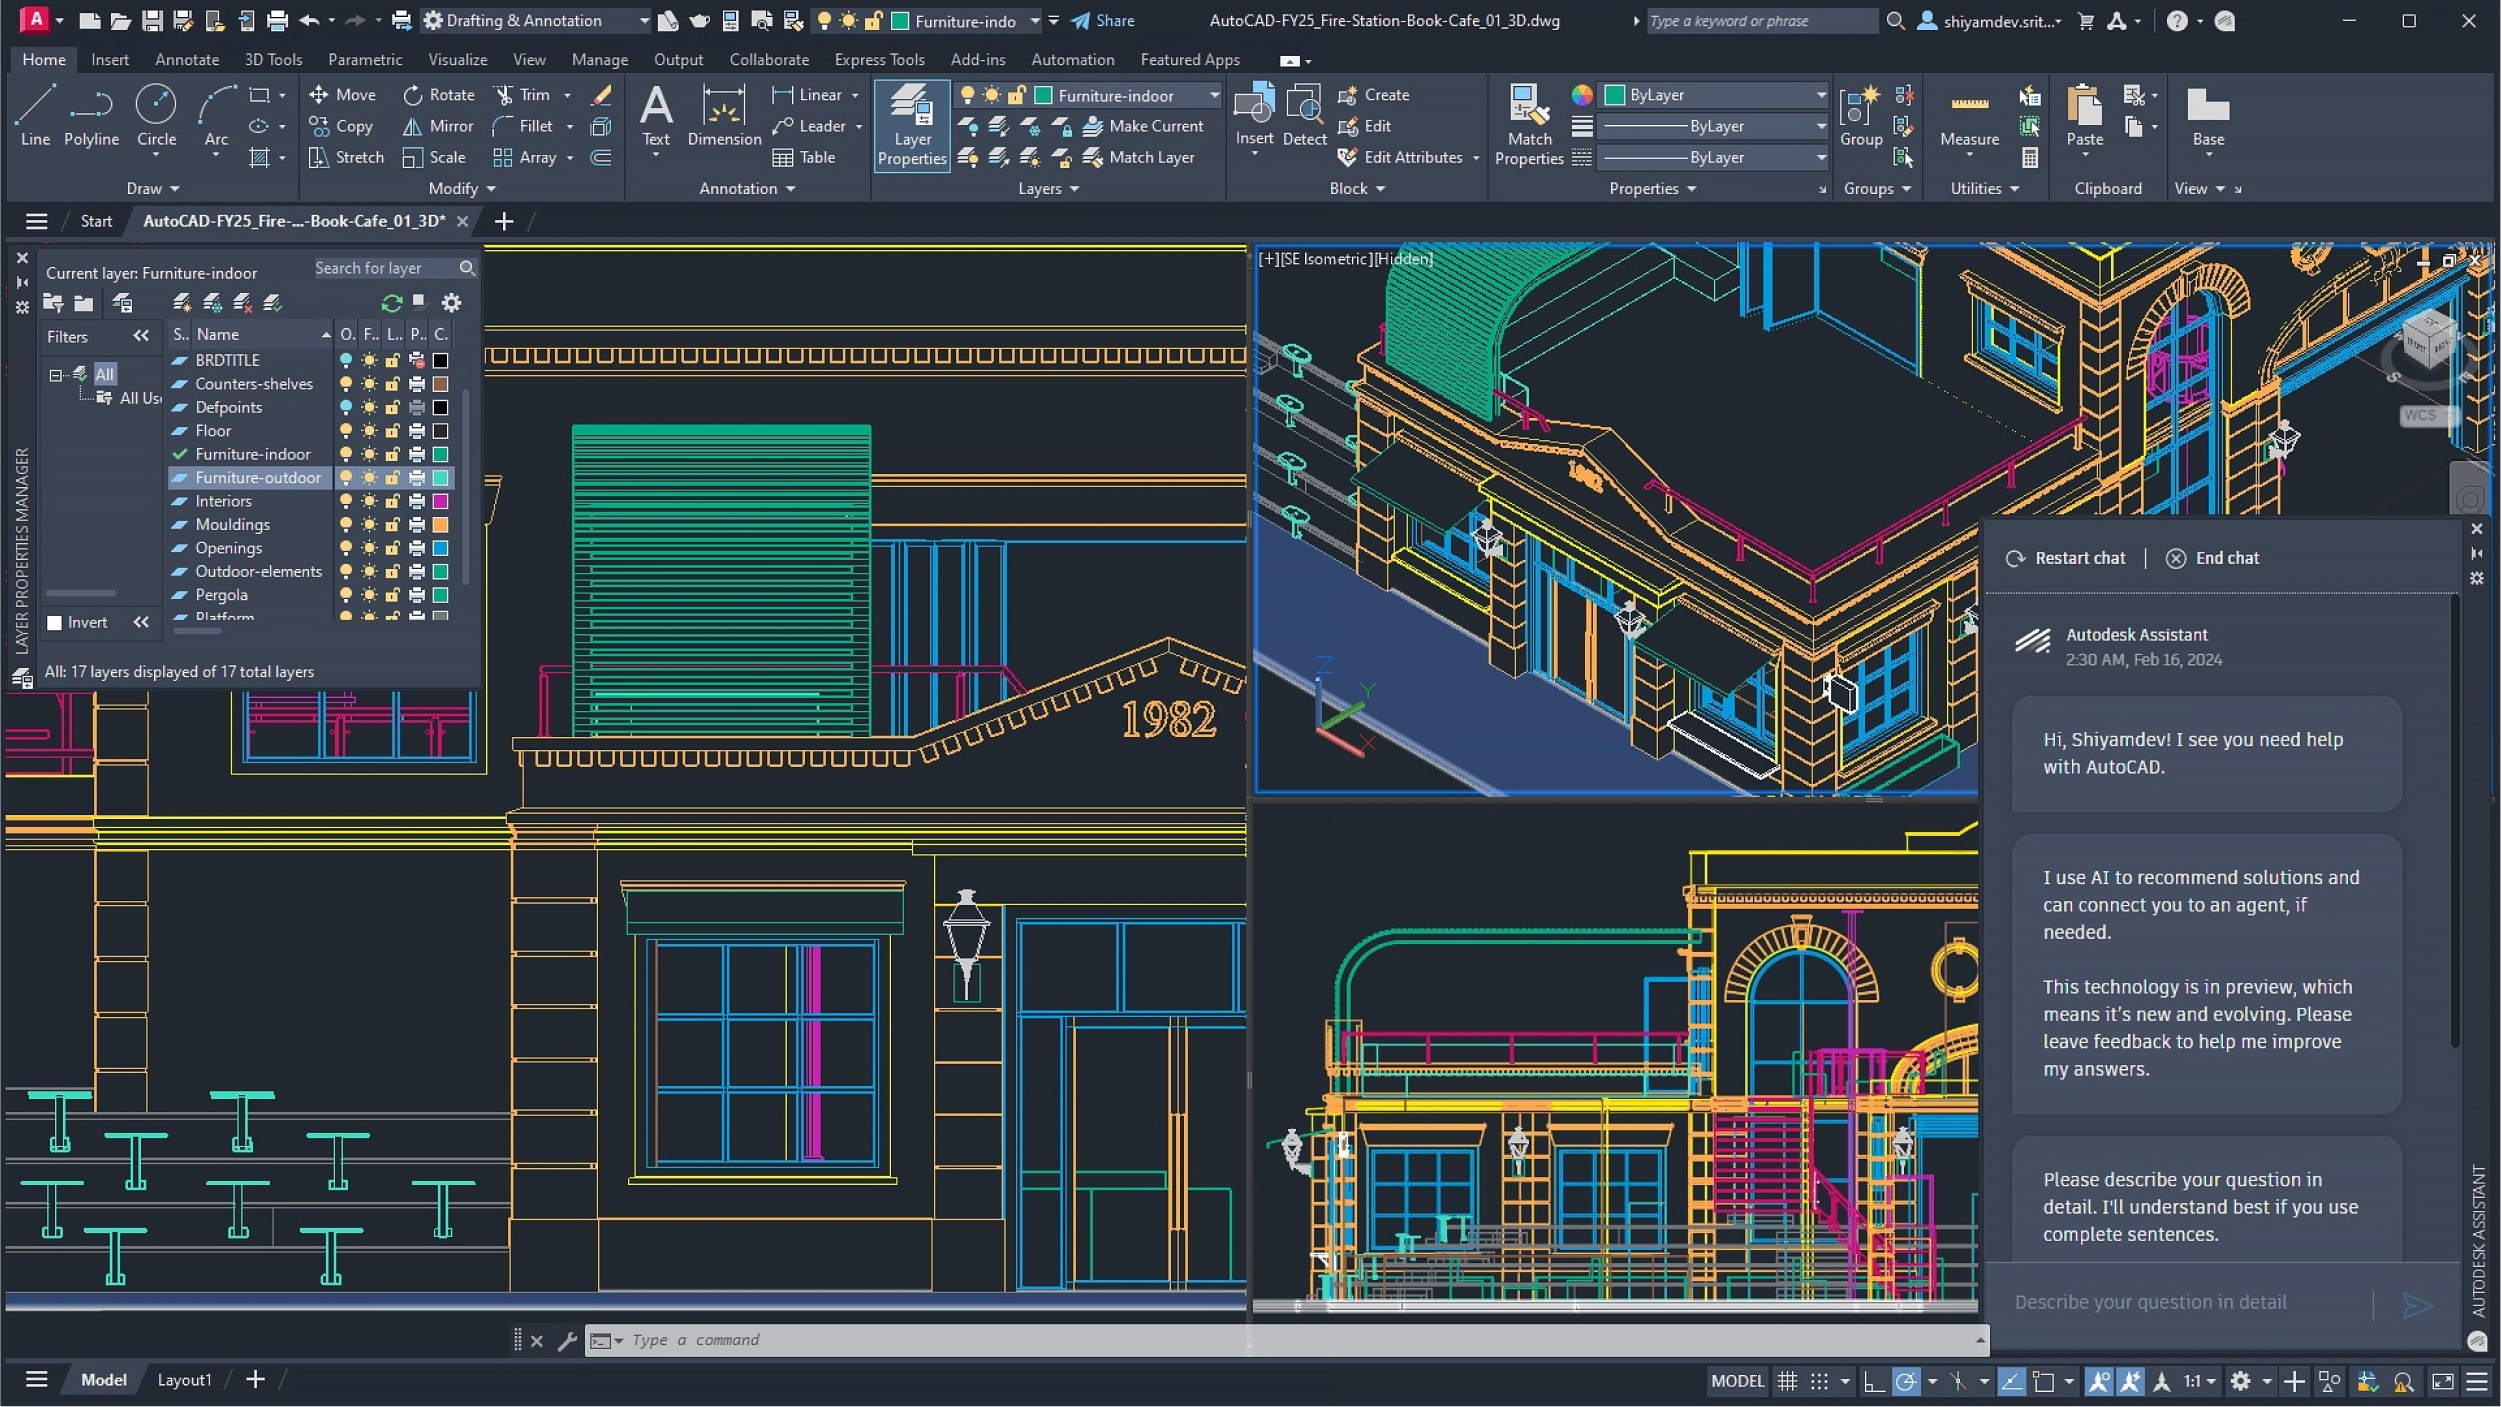
AutoCAD is often used for detailing architectural elements but is no longer widely used for 3D modeling a home due to its labor-intensive workflow.
Space Designer 3D
Price: Free trial available
Difficulty: 2/5
Good for: Quickly creating home designs with integrated BIM capabilities.
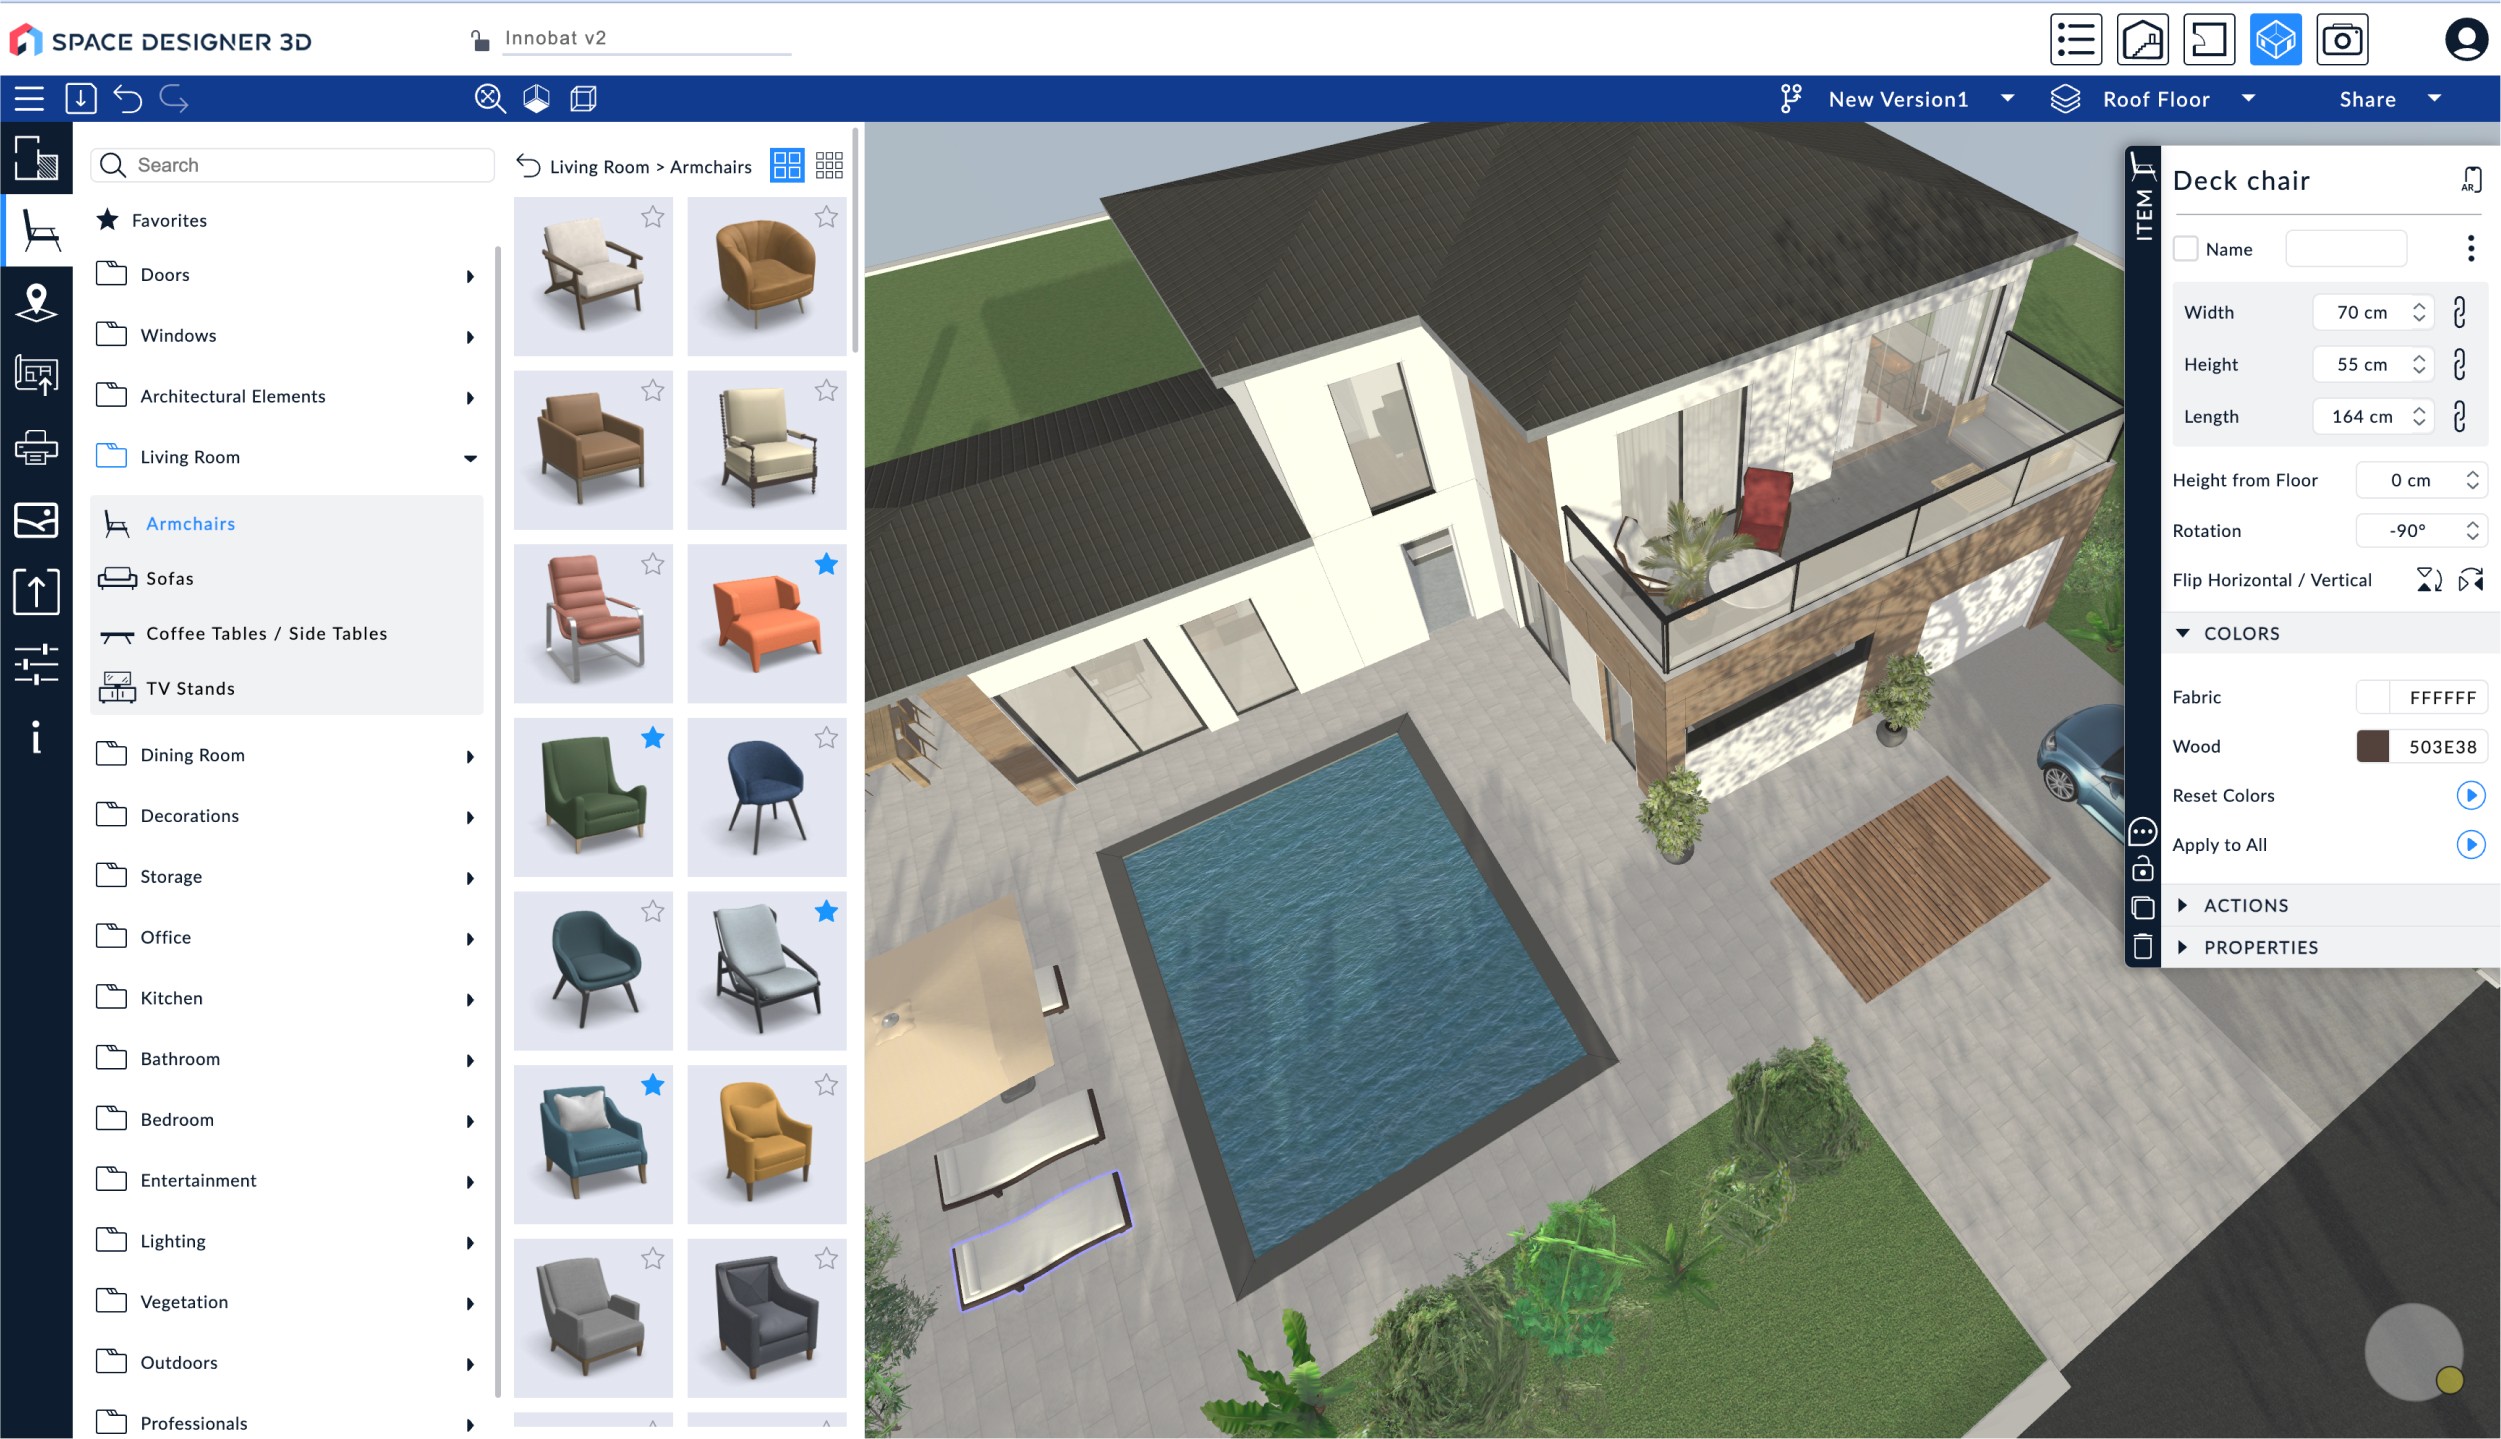
This is where Space Designer 3D truly shines. Designed specifically for home design, it allows you to place axes and define spaces quickly. It’s ideal if you want to make quick adjustments, iterate easily, and still maintain enough precision to communicate your ideas effectively. Unlike Rhino 3D or AutoCAD, it’s built to be user-friendly and is accessible to the general public.
Phase 2: Visualizing Your Design
Once your model is finished, the next step is to generate attractive images to present your project in the best light. The simplest method is to create sketches from software screenshots and enhance them using image editing tools like Photoshop.
Alternatively, AI tools such as DALL·E (included in ChatGPT), MidJourney, and Stable Diffusion can help you quickly generate realistic or artistic impressions of your designs.
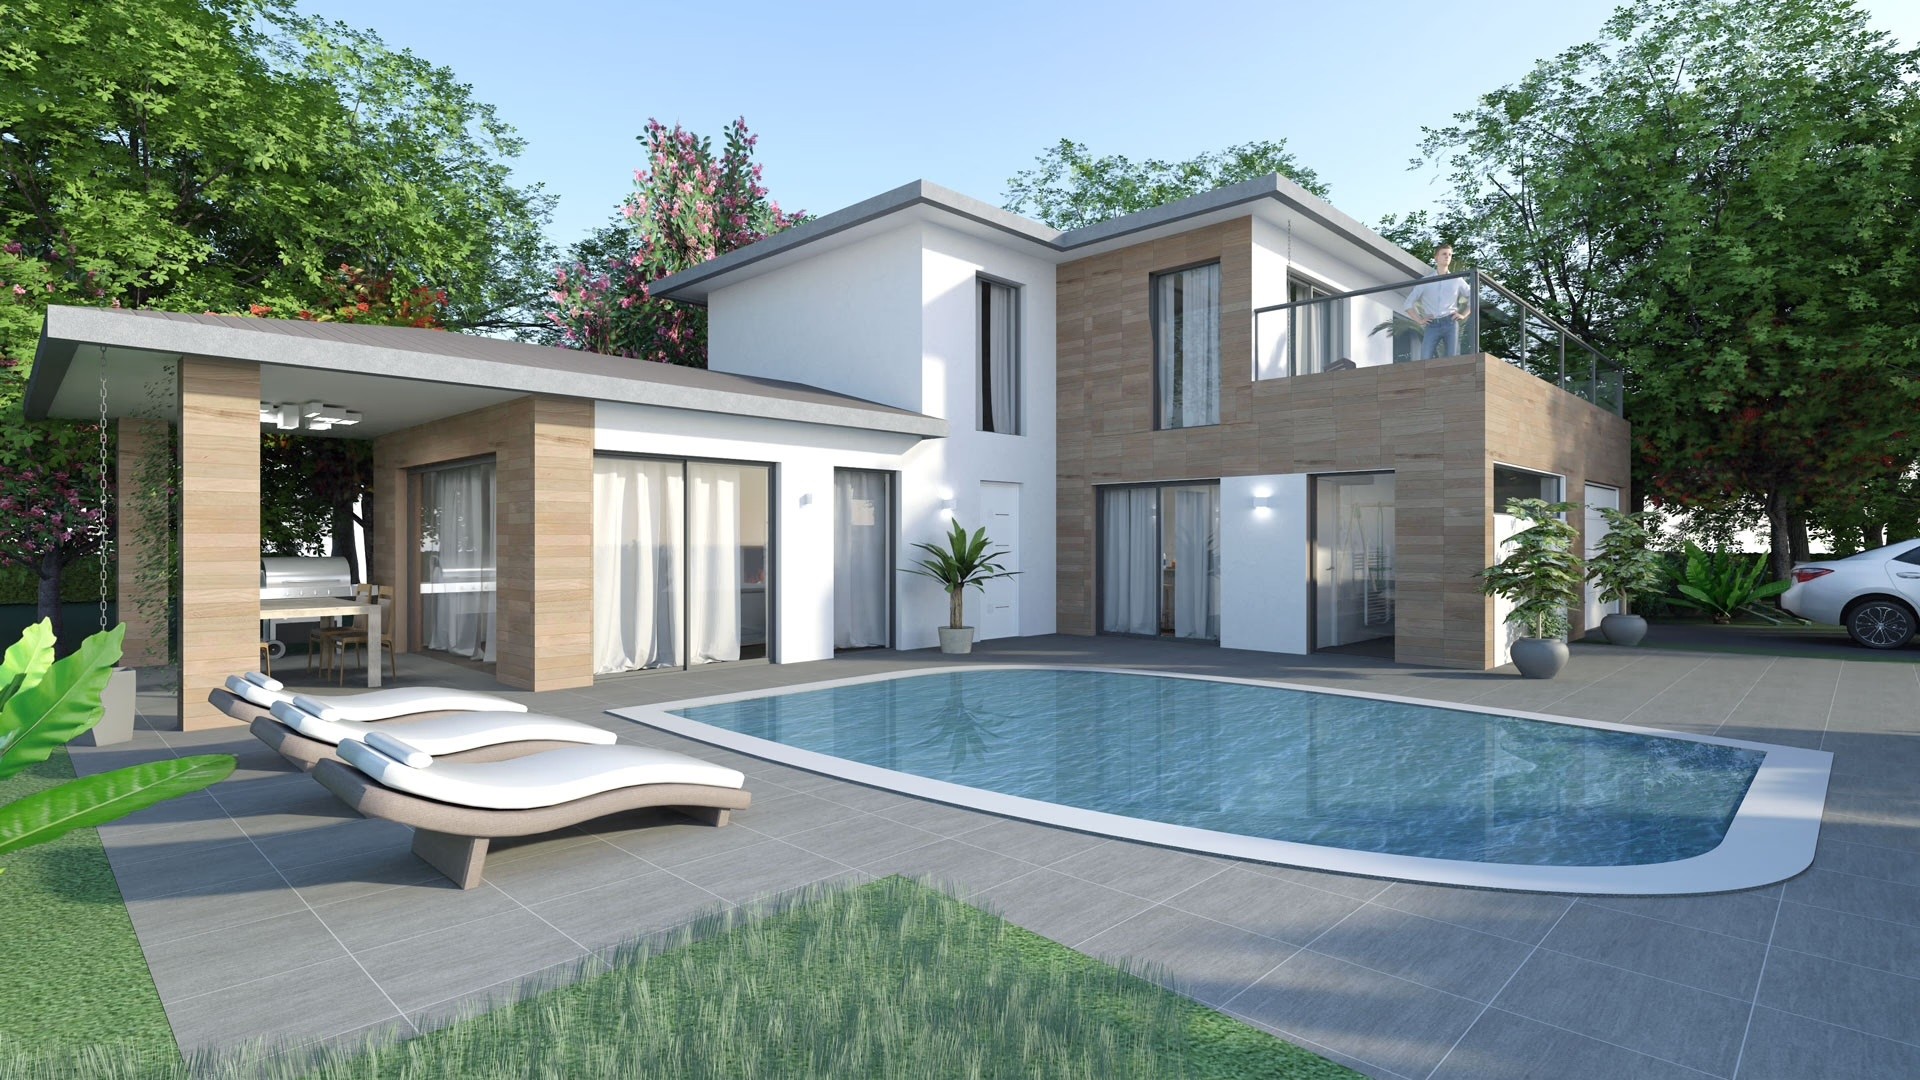
Space Designer 3D also includes a built-in rendering feature that allows you to create high-quality visualizations without the need for expensive hardware.
Phase 3: Estimating Costs
When it comes to budgeting, several factors come into play—location, construction method, materials for insulation, and more. While a professional can provide the most accurate estimate, you can begin by gathering key data:
Living area by room
Total gross area
Heights of different levels
Number and dimensions of openings (doors, windows)
Roof surface area and type
Tools for Estimating Construction Costs:
These tools can help you estimate costs based on materials, labor, and other factors.
Phase 4: Documenting Your Project for Approval
Each of these documents listed below provide local authorities with the necessary information to evaluate the safety, compliance, and overall feasibility of your design. Failing to include any of these elements could delay the approval process or even result in the rejection of your permit application.
The good news is that many of these documents can be generated directly within Space Designer 3D, making it easier to ensure your project is fully documented and meets local building standards.
1. Site Plan
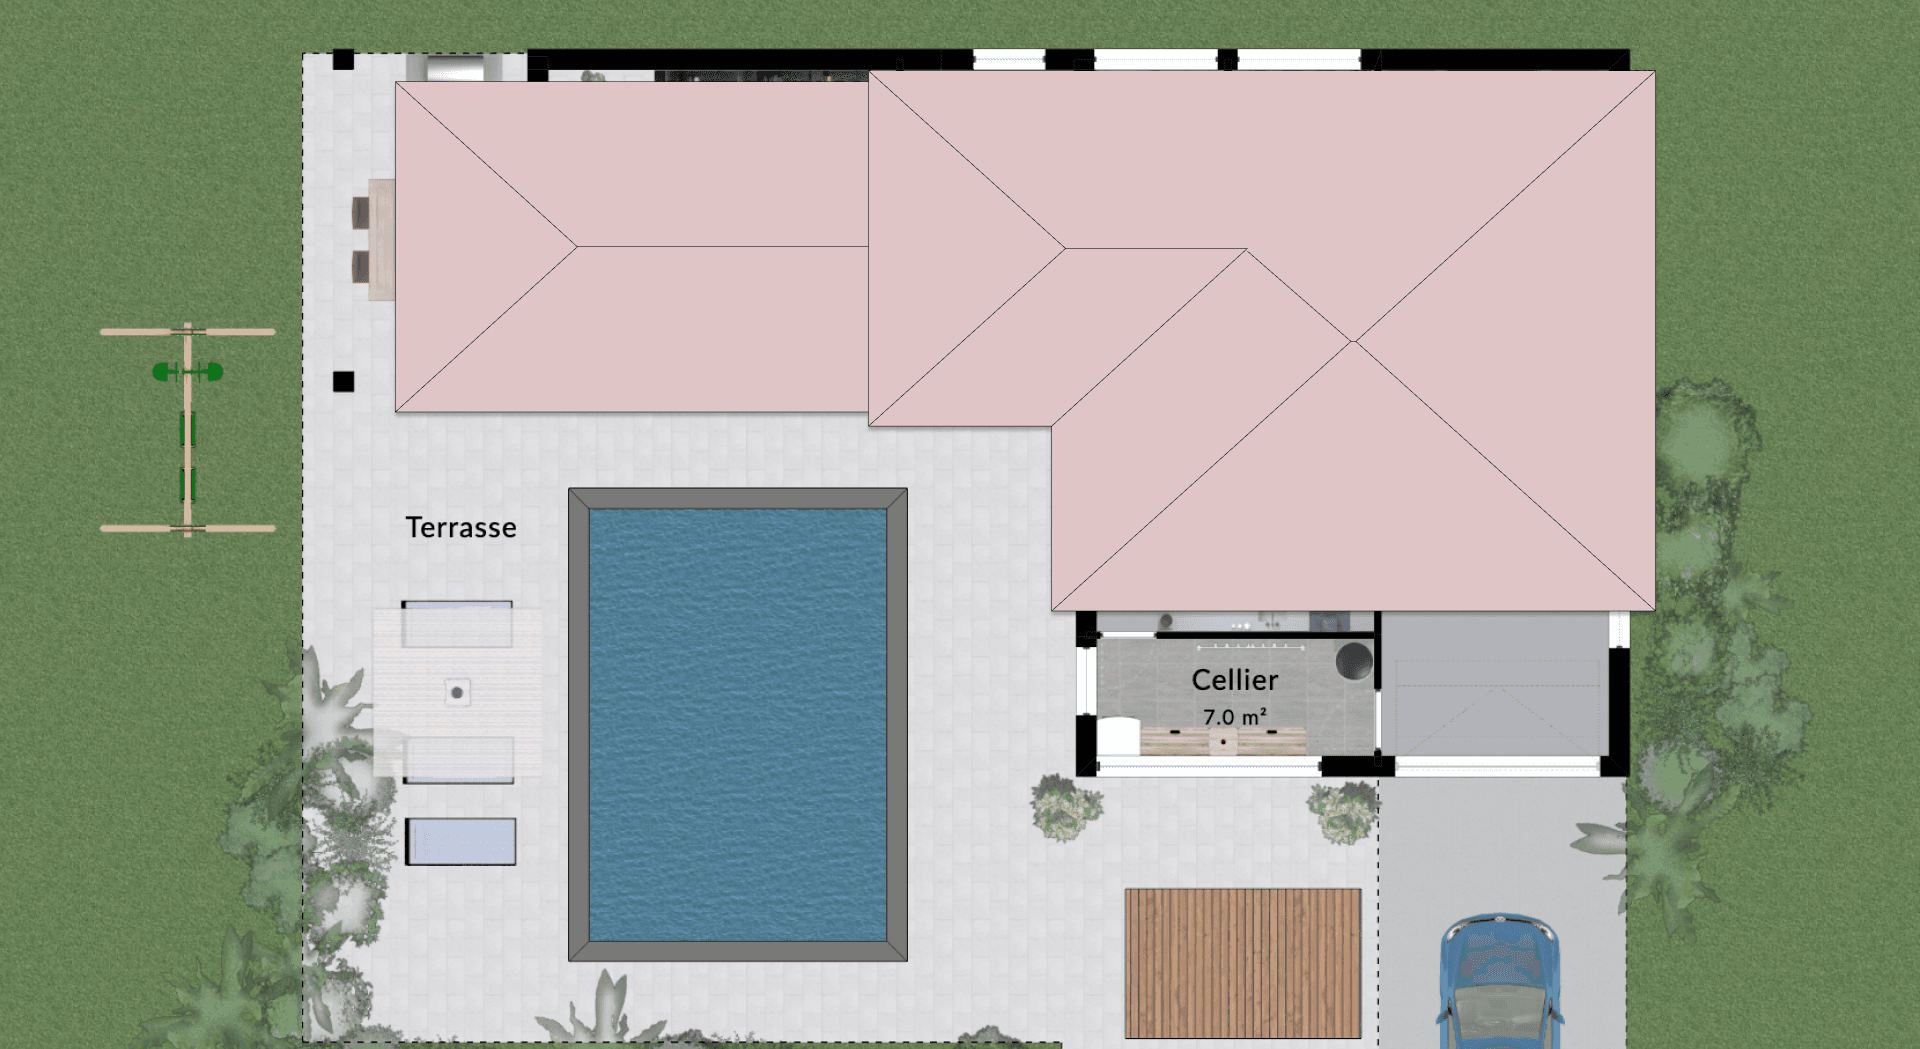
The site plan provides an overview of the land and shows the house's position in relation to property boundaries, nearby buildings, and access points such as roads or driveways. It also outlines the building’s orientation and how it interacts with the surrounding environment, including existing structures and landscape features.
2. Floor Plans
Floor plans are essential for visualizing the internal layout of each level in the house. These plans show the placement of walls, doors, windows, and circulation areas, giving a clear picture of how space will be organized.

3. Cross Sections
Cross sections are vertical cuts through the house that reveal the internal structure, such as floor levels, ceiling heights, foundation details, and roofing systems. These drawings are critical for understanding how the building will be constructed from a structural standpoint.

4. Elevations
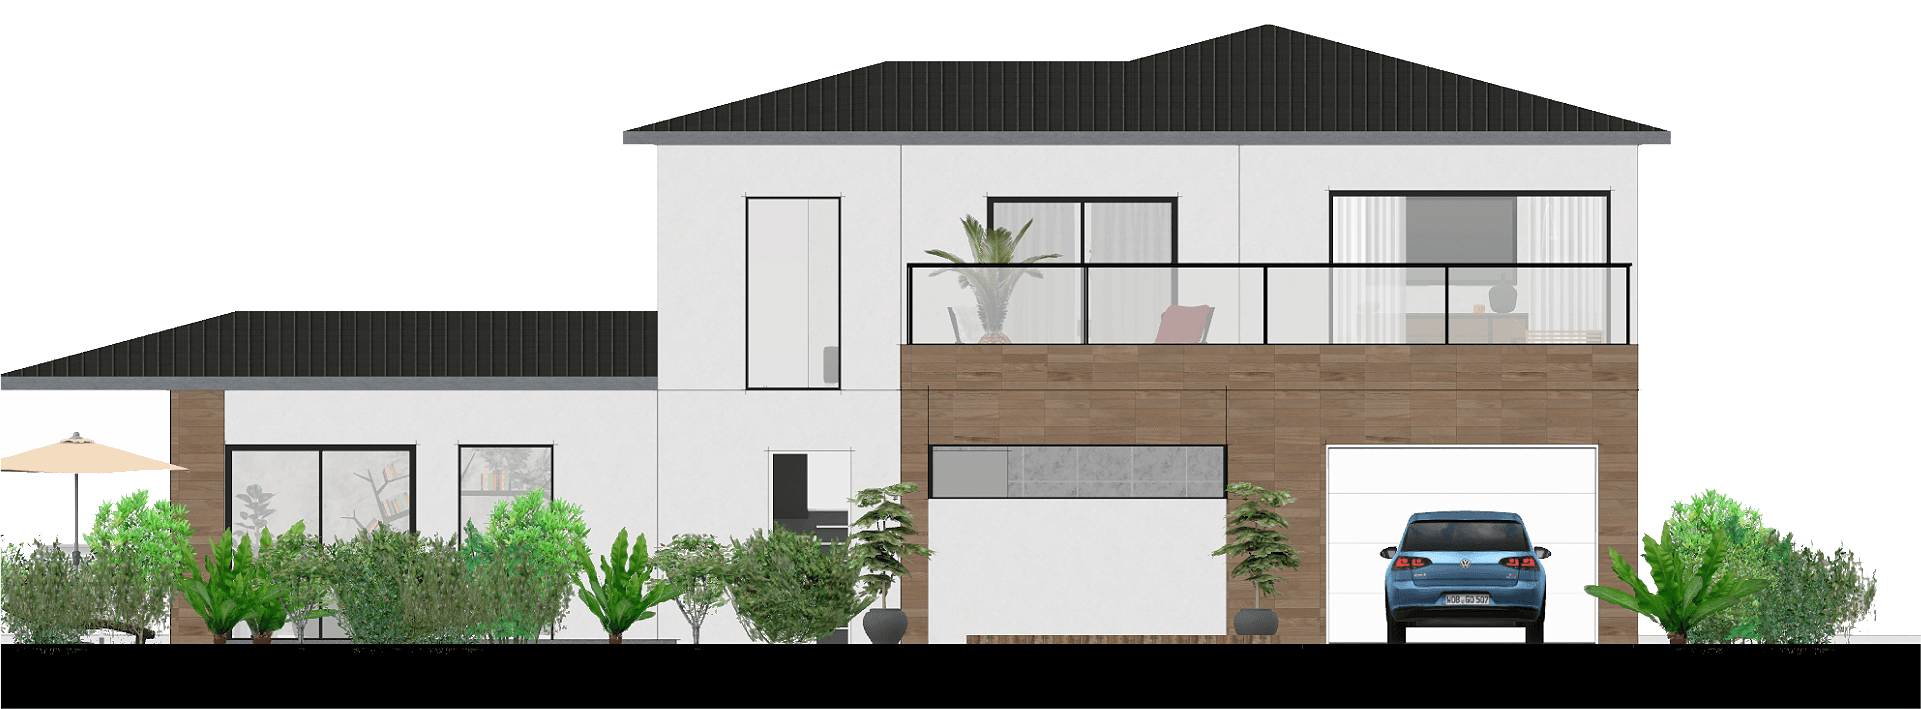
Elevations are external views of the building’s facades, showing the shape and design of the exterior, including the roofline, windows, doors, and exterior materials. These are vital for determining how the building will look in relation to its surroundings.
5. Before-and-After Photos
For renovation or extension projects, before-and-after photos are required to compare the existing state of the building with the proposed changes. This helps local authorities evaluate the impact of the project on the visual and structural integrity of the building and its surroundings.
6. Gross and Net Areas
You’ll need to provide the total gross and net areas of your building, broken down by floor and space type. These calculations help determine tax liabilities, zoning compliance, and density regulations.
7. Descriptive Text
To give authorities a comprehensive understanding of the project, its environmental impact, and how it complies with energy standards and local codes. It also covers technical aspects, such as insulation, heating, ventilation, and energy efficiency measures.
8. Administrative Forms
Each country or region may have specific administrative forms that need to be filled out as part of your building permit application. These forms often summarize the essential details of your project and confirm compliance with local laws.
Conclusion
Designing your own home may seem like a daunting challenge, but with the right tools and a clear methodology, it is entirely achievable. From the sketching phase to the production of photorealistic renderings, there are software solutions today that cater to each step of the process, whether you are an enthusiastic beginner or an experienced user. By categorizing these tools according to their use and complexity, you can select the one that best suits your needs and ambitions.
Beyond design, it’s crucial to document your project properly to ensure its approval by local authorities, especially when applying for a building permit. Plans, cross-sections, elevations, and other technical documents all play a vital role in this procedure.
Ultimately, whether you choose a generalist software like SketchUp, a specialized tool like Rhino3D, or an all-in-one solution like Space Designer 3D, the key is to understand your needs and equip yourself with the right tools to bring your vision to life.
For those looking to see their project realized with a solution designed for both architectural design and documentation, Space Designer 3D was built with this in mind: simple, intuitive, and efficient.
If you’ve made it this far and enjoyed this article, feel free to share it with friends and colleagues. It helps us attract more visitors, increase sign-ups, and secure additional resources to further improve our software. 🙂
Good luck with creating the home of your dreams!
——
FAQ: Best Software for Designing Your House
Can I really design my house without hiring an architect?
Yes, with the right tools and software, it's entirely possible to design your house yourself. You know your family’s needs better than anyone, which gives you an advantage. However, it’s always a good idea to consult a professional at some point to verify the technical and structural aspects of your project.
What is the best software for designing my house in 3D?
There isn’t a single "best" software; it depends on your needs and level of expertise. For beginners, software like SketchUp or Space Designer 3D are easy to use. If you're more experienced, tools like Rhino 3D or Blender offer greater flexibility and power.
What is BIM software, and why not use it during the design phase?
BIM (Building Information Modeling) software is designed to manage the entire lifecycle of a building, incorporating detailed information on materials, construction, and energy performance. It’s often too complex for the initial design phase, where flexibility is needed. Tools like Revit or ArchiCAD are better suited for construction and project management rather than sketching.
Which software is easiest for beginners?
The most accessible software for designing your house includes:
Space Designer 3D: An intuitive tool for quickly creating spaces.
SketchUp: Great for 3D modeling with simplified features.
Planner 5D and Floor Planner: More focused on decoration, but useful for visualizing space layouts.
What’s the difference between BIM and CAD software?
CAD (Computer-Aided Design) software allows you to draw architectural elements as lines or geometric shapes without including material or construction details. BIM software, on the other hand, models objects with detailed properties like materials and construction timelines. AutoCAD is an example of CAD software, while Revit and ArchiCAD are examples of BIM tools.
Is Space Designer 3D suitable for designing homes?
Yes, Space Designer 3D is specifically designed for excelling in space design. It’s easy to use, allows for quick creation of plans, and offers export options for integration with more advanced software.
How can I improve the 3D renders of my house?
You can enhance your 3D renders by using image editing software like Photoshop to polish your sketches. Additionally, AI tools like DALL·E or MidJourney can generate enhanced images from your designs. Most software, including Space Designer 3D, also offers built-in photorealistic rendering engines for more realistic results.
How do I estimate the construction cost of my house?
You can estimate construction costs based on several factors like the living area, gross area, floor heights, door and window dimensions, and roof surface. Simple software like Houzz Pro, Clear Estimates, and Estimator 360 can help you calculate approximate costs.
What documents do I need to obtain a building permit?
To get a building permit, you’ll need to provide:
A site plan showing the house’s placement on the plot.
Floor plans for each level of the house.
Cross-sections of the structure.
Elevations showing the house's facades.
Before-and-after photos (for renovations).
Gross and net area calculations.
A descriptive text explaining the materials and technical choices.
A specific form for your region or country.
How can I use Space Designer 3D to generate the drawings needed for a building permit?
Space Designer 3D can create the necessary plans for obtaining a building permit, such as site plans, elevations, and cross-sections. You can also export these drawings in formats compatible with other software for further adjustments or printing, depending on local requirements.
Which software is best for quick design sketches?
The software best suited for quick sketches includes:
Space Designer 3D: Ideal for modeling spaces and creating layout plans efficiently.
SketchUp: For simple and fast 3D sketches.
Rhino3D with Grasshopper: For users interested in exploring parametric architecture.
How do I choose between different design software?
Your software choice depends on several factors:
Your experience level: Beginners may prefer SketchUp or Space Designer 3D, while advanced users might opt for Rhino 3D or Blender.
Your specific needs: For quick renders and flexible space layouts, Space Designer 3D is a great option. If you need full control over complex forms, Rhino3D may be better.
Your budget: Some software, like Blender, is free, while others, like AutoCAD or Revit, require a significant investment.
You likely already have a clear idea of the home you want to create. After all, no one knows your family's needs better than you. While an architect might step in later, right now you want to take the first steps, visualizing your ideas in a tangible way.
But the big question is: which software should you use to transform these ideas into something real? A quick search shows dozens of options, all of which look alike at first glance. But how do you find the one that’s best suited for you?
With over 15 years of experience as an architect and co-founder of Space Designer 3D, I’ve helped many people transform their ideas into concrete plans. In this guide, I’ll walk you through some of the best software options so you can choose the right tool for your needs.
And yes, if you want to try Space Designer 3D, you can do that for free. But before jumping in, I encourage you to read through this article.
Before Drawing Anything, Write...
Write down your desires and constraints on paper. This will guide you throughout the design process, helping you gain clarity, efficiency, and satisfaction.
Example of Goals and Constraints:
Natural Light: Prioritize rooms that get abundant sunlight.
Soundproofing: A music room for your teenager, isolated from the rest of the house.
Work-from-Home Setup: A separate office space to maintain a boundary between work and home life.
Budget Limitations: Opt for multifunctional and modular spaces.
Eco-Friendly Design: You might also be looking for a sustainable, low-energy home with eco-friendly heating.
Choose the Right Software for Each Phase of Your Home Design
Designing your home goes through several phases, and most architects rely on a combination of tools depending on the stage of the project. Below, I’ve grouped the best software according to the phase where they are most useful.
This isn’t to suggest that you need to learn more software, but sometimes, like architects, you might benefit from using an additional tool to refine a particular phase. So, when choosing your software, make sure it’s compatible with others you may need later.
Phase 1: Conceptual Design / Sketching
This is the creative stage, where you work out the basic layout of your home based on the constraints you’ve identified: location, orientation, climate, family needs, and more. Lines form, spaces take shape, and adjustments are made. At this point, precision isn’t the focus—the goal is to maintain a rough scale, both spatially and budgetarily.
SketchUp
Price: From $349/year + plugins
Difficulty: 3/5
Good for: Beginners and intermediate users looking to model spaces in 3D.

If you’ve spent any time in the world of 3D design, you’ve probably come across SketchUp. It’s not made specifically for architecture, but thanks to a range of plugins, it’s widely adopted for home design.
Useful Plugins:
Flex Tools ($99/year): Create doors, windows, and stairs quickly and accurately.
Instant Architecture ($118/year): Helps generate roofs, walls, fences, and terrains with ease.
SketchUp is a great option if you’ve got the time to spend drawing out your design. But be prepared—it requires dedication. Despite its reputation for being intuitive, beginners often find it more complex than expected. For professional architects, it’s rarely a first choice because it can be slow and disorganized when using many plugins.
Rhino3D
Price: From $995/year
Difficulty: 4/5
Good for: Advanced users seeking precision and flexibility.

Rhino3D is a highly flexible 3D modeling tool. With its Grasshopper plugin, it’s ideal for parametric design, allowing you to explore complex forms. If you’re willing to invest time, Rhino3D is worth the learning curve.
Blender
Price: Free and open-source
Difficulty: 4/5
Good for: Advanced users looking for a powerful, customizable tool.

Blender is a powerful tool that’s completely free. Although its interface can be challenging for beginners, its vast range of plugins makes it a solid option for architectural design. Building Tools and BlenderBIM are two notable plugins for architectural projects.
Revit
Price: €684/year
Difficulty: 5/5
Good for: Large-scale projects that require detailed documentation.

Revit excels at Building Information Modeling (BIM), which means it’s great for managing large construction projects. However, it’s less suitable for the early, creative phase of design when flexibility is key.
AutoCAD
Price: Varies
Difficulty: 3/5
Good for: Detailing and drafting.

AutoCAD is often used for detailing architectural elements but is no longer widely used for 3D modeling a home due to its labor-intensive workflow.
Space Designer 3D
Price: Free trial available
Difficulty: 2/5
Good for: Quickly creating home designs with integrated BIM capabilities.

This is where Space Designer 3D truly shines. Designed specifically for home design, it allows you to place axes and define spaces quickly. It’s ideal if you want to make quick adjustments, iterate easily, and still maintain enough precision to communicate your ideas effectively. Unlike Rhino 3D or AutoCAD, it’s built to be user-friendly and is accessible to the general public.
Phase 2: Visualizing Your Design
Once your model is finished, the next step is to generate attractive images to present your project in the best light. The simplest method is to create sketches from software screenshots and enhance them using image editing tools like Photoshop.
Alternatively, AI tools such as DALL·E (included in ChatGPT), MidJourney, and Stable Diffusion can help you quickly generate realistic or artistic impressions of your designs.
Space Designer 3D also includes a built-in rendering feature that allows you to create high-quality visualizations without the need for expensive hardware.

Phase 3: Estimating Costs
When it comes to budgeting, several factors come into play—location, construction method, materials for insulation, and more. While a professional can provide the most accurate estimate, you can begin by gathering key data:
Living area by room
Total gross area
Heights of different levels
Number and dimensions of openings (doors, windows)
Roof surface area and type
Tools for Estimating Construction Costs:
These tools can help you estimate costs based on materials, labor, and other factors.
Phase 4: Documenting Your Project for Approval
Each of these documents listed below provide local authorities with the necessary information to evaluate the safety, compliance, and overall feasibility of your design. Failing to include any of these elements could delay the approval process or even result in the rejection of your permit application.
The good news is that many of these documents can be generated directly within Space Designer 3D, making it easier to ensure your project is fully documented and meets local building standards.
1. Site Plan
The site plan provides an overview of the land and shows the house's position in relation to property boundaries, nearby buildings, and access points such as roads or driveways. It also outlines the building’s orientation and how it interacts with the surrounding environment, including existing structures and landscape features.

2. Floor Plans
Floor plans are essential for visualizing the internal layout of each level in the house. These plans show the placement of walls, doors, windows, and circulation areas, giving a clear picture of how space will be organized.

3. Cross Sections
Cross sections are vertical cuts through the house that reveal the internal structure, such as floor levels, ceiling heights, foundation details, and roofing systems. These drawings are critical for understanding how the building will be constructed from a structural standpoint.

4. Elevations
Elevations are external views of the building’s facades, showing the shape and design of the exterior, including the roofline, windows, doors, and exterior materials. These are vital for determining how the building will look in relation to its surroundings.

5. Before-and-After Photos
For renovation or extension projects, before-and-after photos are required to compare the existing state of the building with the proposed changes. This helps local authorities evaluate the impact of the project on the visual and structural integrity of the building and its surroundings.
6. Gross and Net Areas
You’ll need to provide the total gross and net areas of your building, broken down by floor and space type. These calculations help determine tax liabilities, zoning compliance, and density regulations.
7. Descriptive Text
To give authorities a comprehensive understanding of the project, its environmental impact, and how it complies with energy standards and local codes. It also covers technical aspects, such as insulation, heating, ventilation, and energy efficiency measures.
8. Administrative Forms
Each country or region may have specific administrative forms that need to be filled out as part of your building permit application. These forms often summarize the essential details of your project and confirm compliance with local laws.
Conclusion
Designing your own home may seem like a daunting challenge, but with the right tools and a clear methodology, it is entirely achievable. From the sketching phase to the production of photorealistic renderings, there are software solutions today that cater to each step of the process, whether you are an enthusiastic beginner or an experienced user. By categorizing these tools according to their use and complexity, you can select the one that best suits your needs and ambitions.
Beyond design, it’s crucial to document your project properly to ensure its approval by local authorities, especially when applying for a building permit. Plans, cross-sections, elevations, and other technical documents all play a vital role in this procedure.
Ultimately, whether you choose a generalist software like SketchUp, a specialized tool like Rhino3D, or an all-in-one solution like Space Designer 3D, the key is to understand your needs and equip yourself with the right tools to bring your vision to life.
For those looking to see their project realized with a solution designed for both architectural design and documentation, Space Designer 3D was built with this in mind: simple, intuitive, and efficient.
If you’ve made it this far and enjoyed this article, feel free to share it with friends and colleagues. It helps us attract more visitors, increase sign-ups, and secure additional resources to further improve our software. 🙂
Good luck with creating the home of your dreams!
——
FAQ: Best Software for Designing Your House
Can I really design my house without hiring an architect?
Yes, with the right tools and software, it's entirely possible to design your house yourself. You know your family’s needs better than anyone, which gives you an advantage. However, it’s always a good idea to consult a professional at some point to verify the technical and structural aspects of your project.
What is the best software for designing my house in 3D?
There isn’t a single "best" software; it depends on your needs and level of expertise. For beginners, software like SketchUp or Space Designer 3D are easy to use. If you're more experienced, tools like Rhino 3D or Blender offer greater flexibility and power.
What is BIM software, and why not use it during the design phase?
BIM (Building Information Modeling) software is designed to manage the entire lifecycle of a building, incorporating detailed information on materials, construction, and energy performance. It’s often too complex for the initial design phase, where flexibility is needed. Tools like Revit or ArchiCAD are better suited for construction and project management rather than sketching.
Which software is easiest for beginners?
The most accessible software for designing your house includes:
Space Designer 3D: An intuitive tool for quickly creating spaces.
SketchUp: Great for 3D modeling with simplified features.
Planner 5D and Floor Planner: More focused on decoration, but useful for visualizing space layouts.
What’s the difference between BIM and CAD software?
CAD (Computer-Aided Design) software allows you to draw architectural elements as lines or geometric shapes without including material or construction details. BIM software, on the other hand, models objects with detailed properties like materials and construction timelines. AutoCAD is an example of CAD software, while Revit and ArchiCAD are examples of BIM tools.
Is Space Designer 3D suitable for designing homes?
Yes, Space Designer 3D is specifically designed for excelling in space design. It’s easy to use, allows for quick creation of plans, and offers export options for integration with more advanced software.
How can I improve the 3D renders of my house?
You can enhance your 3D renders by using image editing software like Photoshop to polish your sketches. Additionally, AI tools like DALL·E or MidJourney can generate enhanced images from your designs. Most software, including Space Designer 3D, also offers built-in photorealistic rendering engines for more realistic results.
How do I estimate the construction cost of my house?
You can estimate construction costs based on several factors like the living area, gross area, floor heights, door and window dimensions, and roof surface. Simple software like Houzz Pro, Clear Estimates, and Estimator 360 can help you calculate approximate costs.
What documents do I need to obtain a building permit?
To get a building permit, you’ll need to provide:
A site plan showing the house’s placement on the plot.
Floor plans for each level of the house.
Cross-sections of the structure.
Elevations showing the house's facades.
Before-and-after photos (for renovations).
Gross and net area calculations.
A descriptive text explaining the materials and technical choices.
A specific form for your region or country.
How can I use Space Designer 3D to generate the drawings needed for a building permit?
Space Designer 3D can create the necessary plans for obtaining a building permit, such as site plans, elevations, and cross-sections. You can also export these drawings in formats compatible with other software for further adjustments or printing, depending on local requirements.
Which software is best for quick design sketches?
The software best suited for quick sketches includes:
Space Designer 3D: Ideal for modeling spaces and creating layout plans efficiently.
SketchUp: For simple and fast 3D sketches.
Rhino3D with Grasshopper: For users interested in exploring parametric architecture.
How do I choose between different design software?
Your software choice depends on several factors:
Your experience level: Beginners may prefer SketchUp or Space Designer 3D, while advanced users might opt for Rhino 3D or Blender.
Your specific needs: For quick renders and flexible space layouts, Space Designer 3D is a great option. If you need full control over complex forms, Rhino3D may be better.
Your budget: Some software, like Blender, is free, while others, like AutoCAD or Revit, require a significant investment.


